Plugin Installation
Documentation on how to install iPaymu plugins for WooCommerce, OpenCart, Prestashop, WHMCS, and Moodle.
Download Plugin
Visit the official iPaymu website at https://ipaymu.com/, then select Doc API -> Download Instant Plugin.
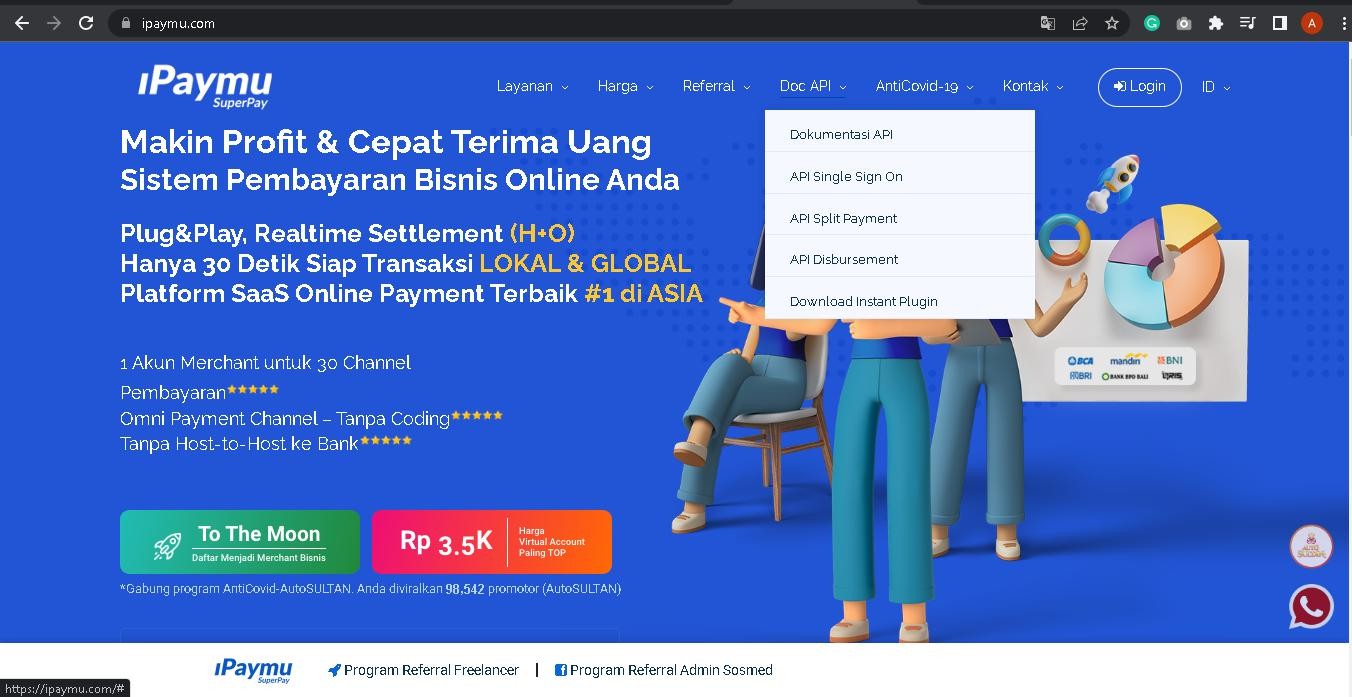
Choose your iPaymu plugin according to what you need. At iPaymu, we provide plugins for WP WooCommerce, OpenCart 3.x, Prestashop 1.x, WHMCS, and Moodle.
WP WooCommerce
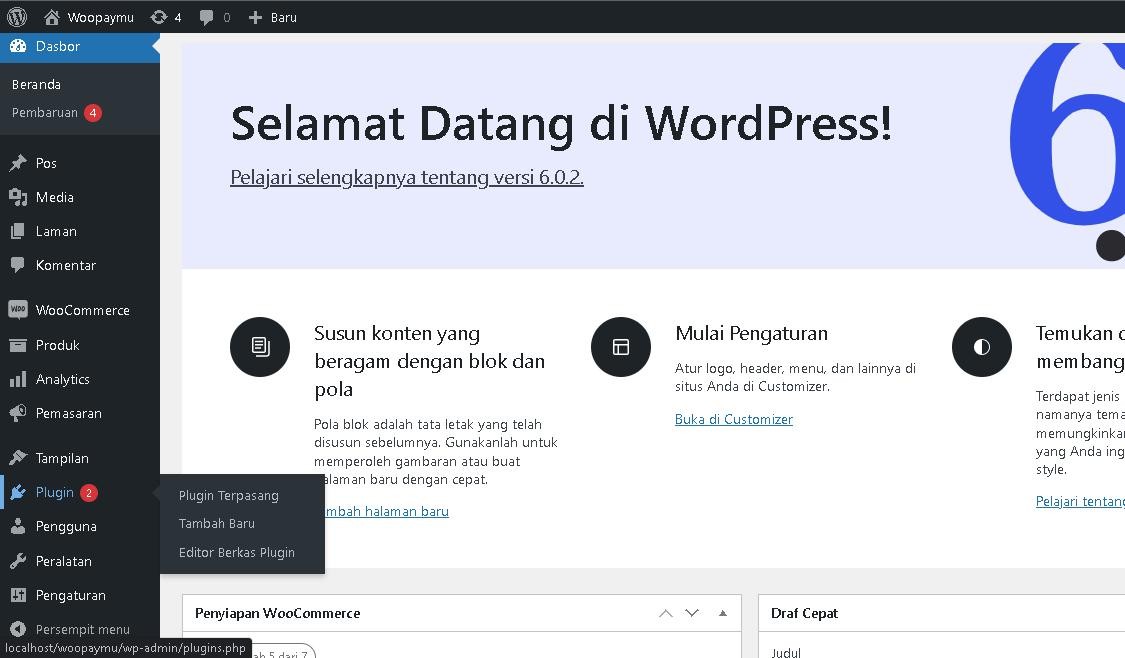
Follow the steps below to install the WP WooCommerce plugin:
- Login to your WordPress dashboard, then select the Plugins menu -> Add New.
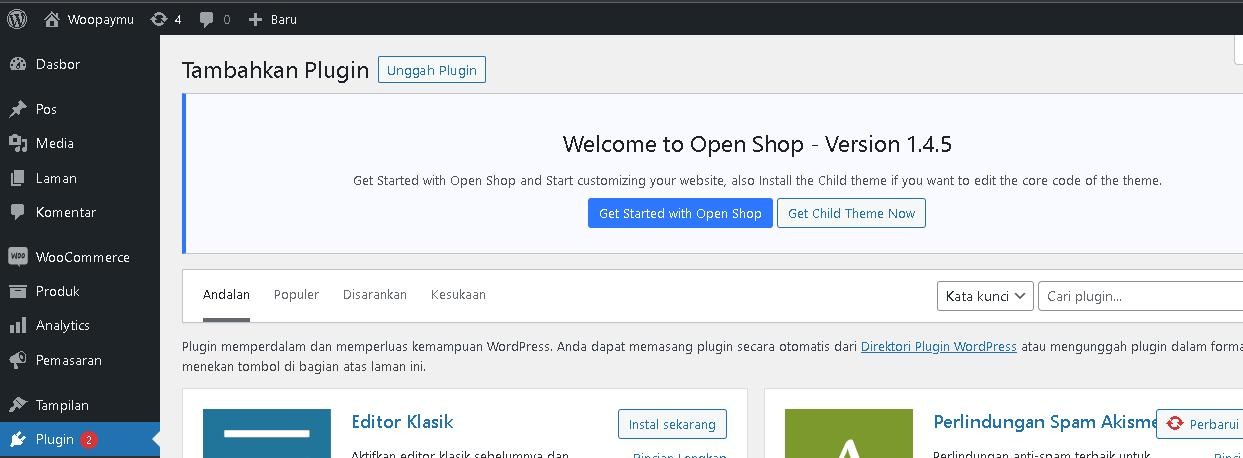
- Click Upload Plugin, and upload the plugin you downloaded in
.zipformat.
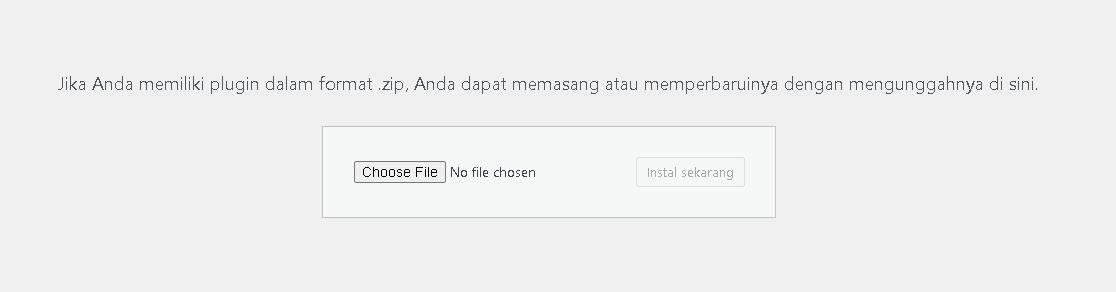

- If the plugin is successfully installed, it will be visible in the Installed Plugins menu, then activate the plugin.
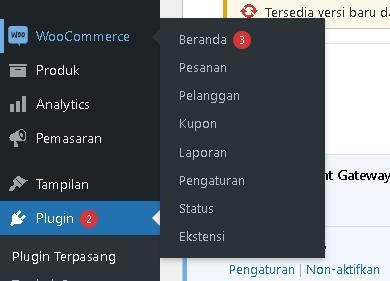
- Then, choose WooCommerce Menu -> Settings.
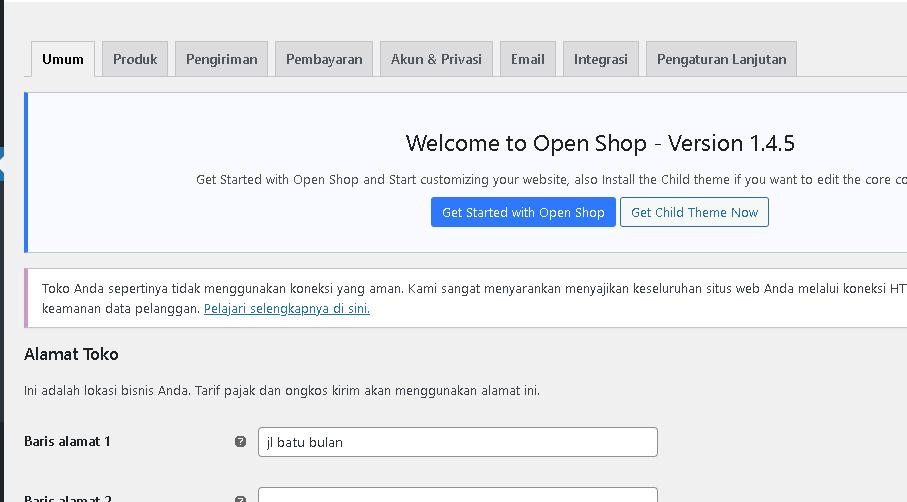
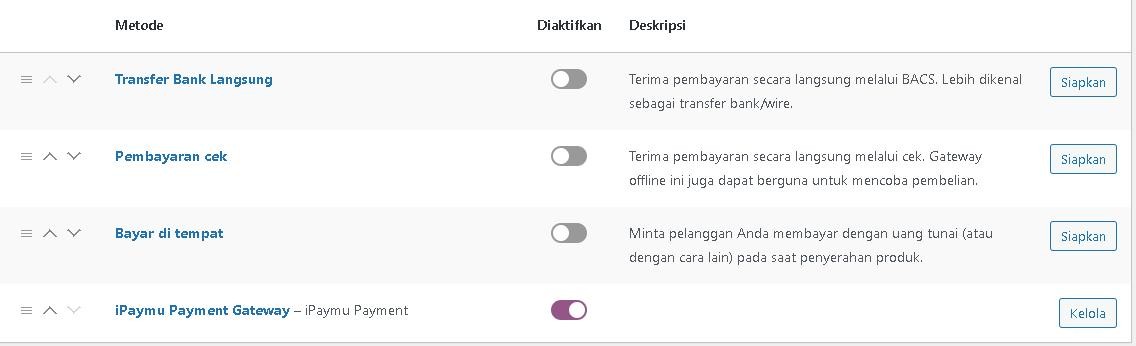
- Select the Payments menu tab, activate the iPaymu Payment Gateway payment method, and click the manage button to configure the plugin.
- Fill in the form that appears according to your store data. For your API Key, it can be seen on your iPaymu dashboard.
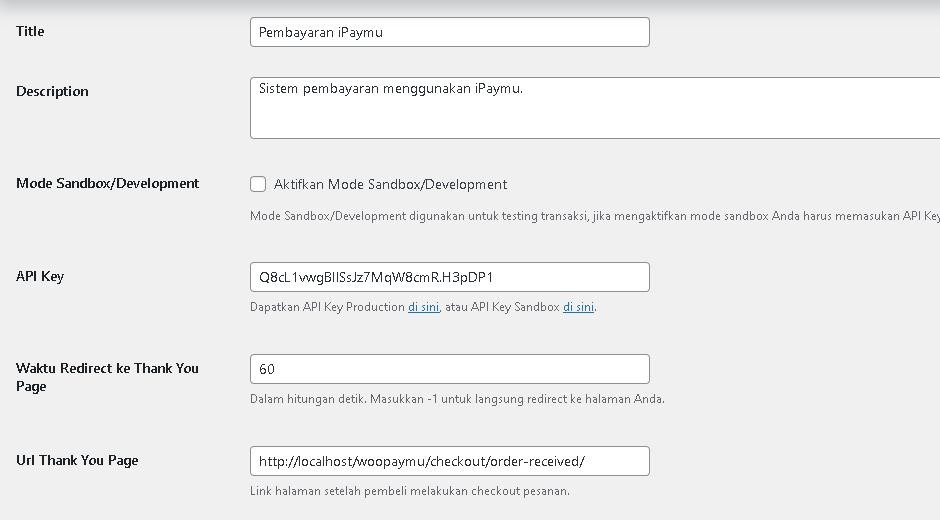
- If your shop is in sandbox mode, tick the Mode Sandbox/Development checkbox.

- If you want to custom your “Thank You” page (the page that appears after checkout), all you have to do is fill in the page URL link here.
- When finished, click Save Changes.
Opencart
Method 1
- Login to your Opencart dashboard page.
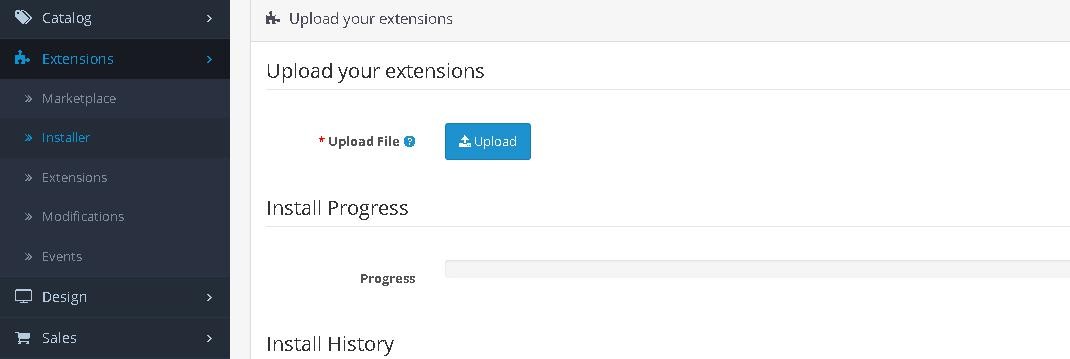
- After logging in, click the Extensions menu -> Installer then click the Upload button.
- Upload your downloaded plugin in
.zipformat.

- A success message will appear below if the plugin is successfully installed.
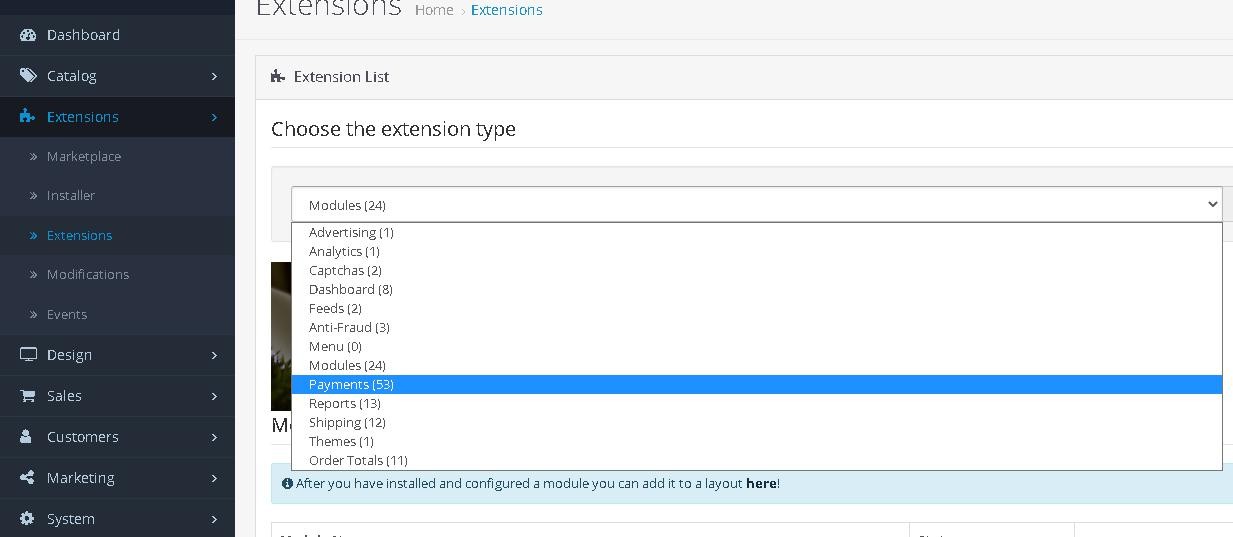
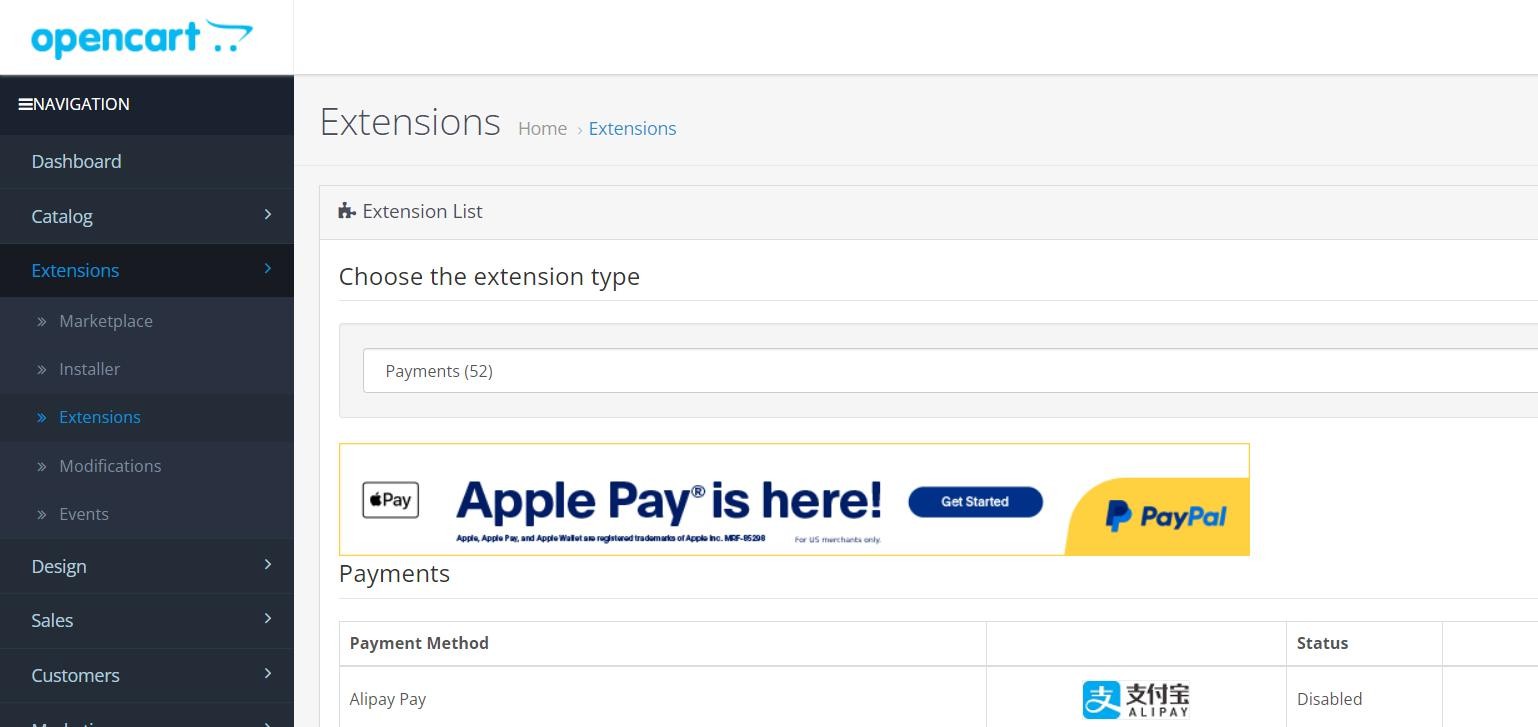
- Then click Extensions -> Extensions, select filter Payments. Find iPaymu, then click Install (green icon).
- After installing, click the Edit button (blue icon).
- Fill the form with your username and Api Key on your iPaymu account dashboard. Then click Save.
Prestashop
- Login to your PrestaShop dashboard page.
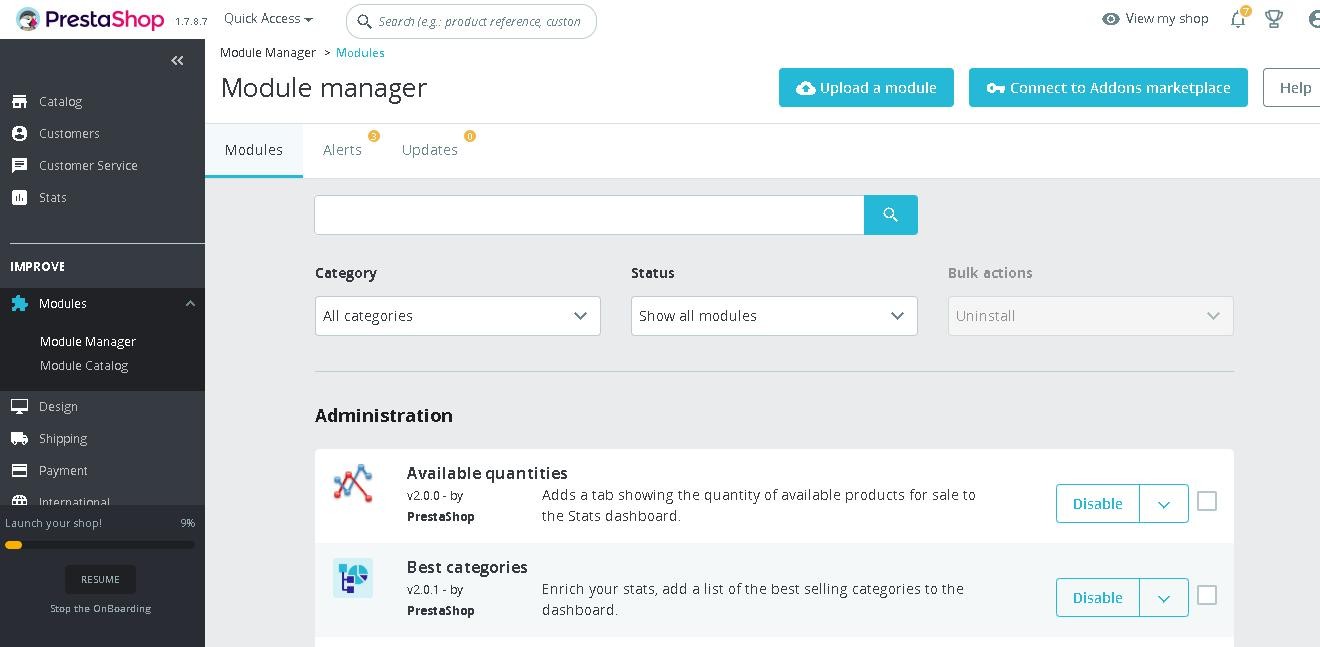
- Click the Modules menu -> Module Manager then click the Upload a Module button.
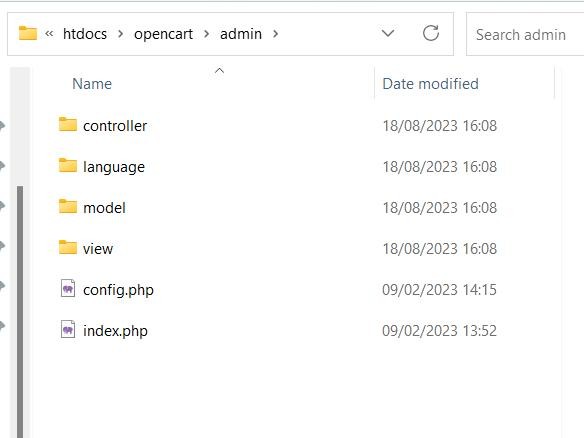
- Upload your downloaded plugin in
.zipformat.
-
If successfully installed, a success message will appear. Click Configure.
-
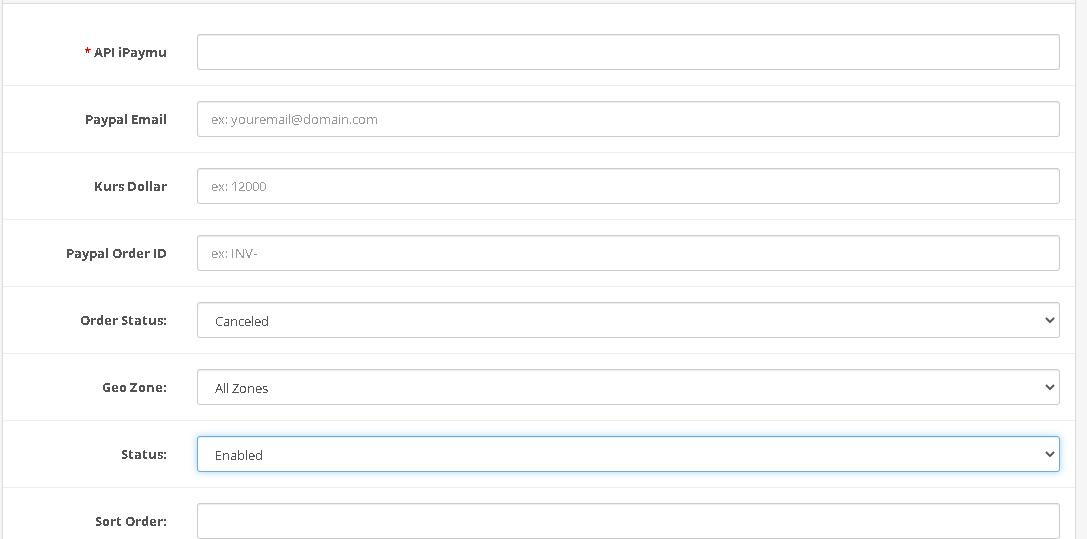
Fill the form with your username and Api Key on your iPaymu account dashboard. Then click Save.
WHMCS
WHMCS (Web Host Manager Complete Solution) is a hosting business automation platform widely used by Hosting Providers, Domain Registrars, Web Agencies, and Developers.
- Download the WHMCS plugin from the iPaymu Plugin page.
-
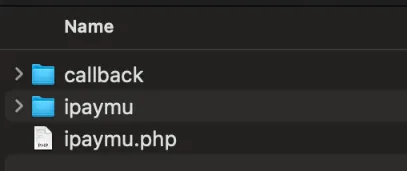
After extracting, copy the
callback/folder to/modules/gateways/callback/and theipaymu/folder andipaymu.phpfile to/modules/gateways/. -
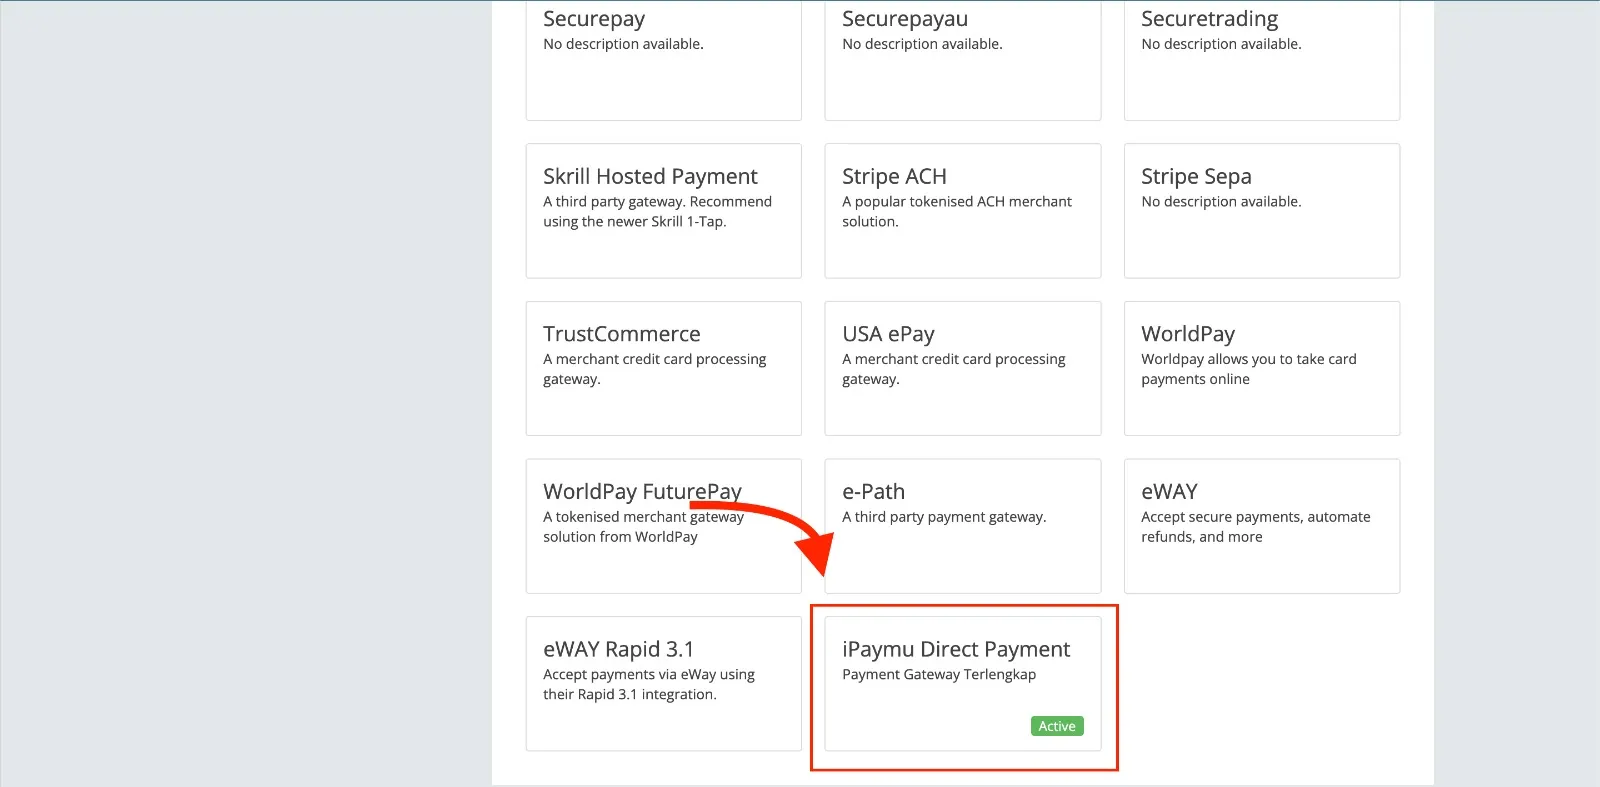
Go to Settings → Apps & Integrations, select Browse → Payments.

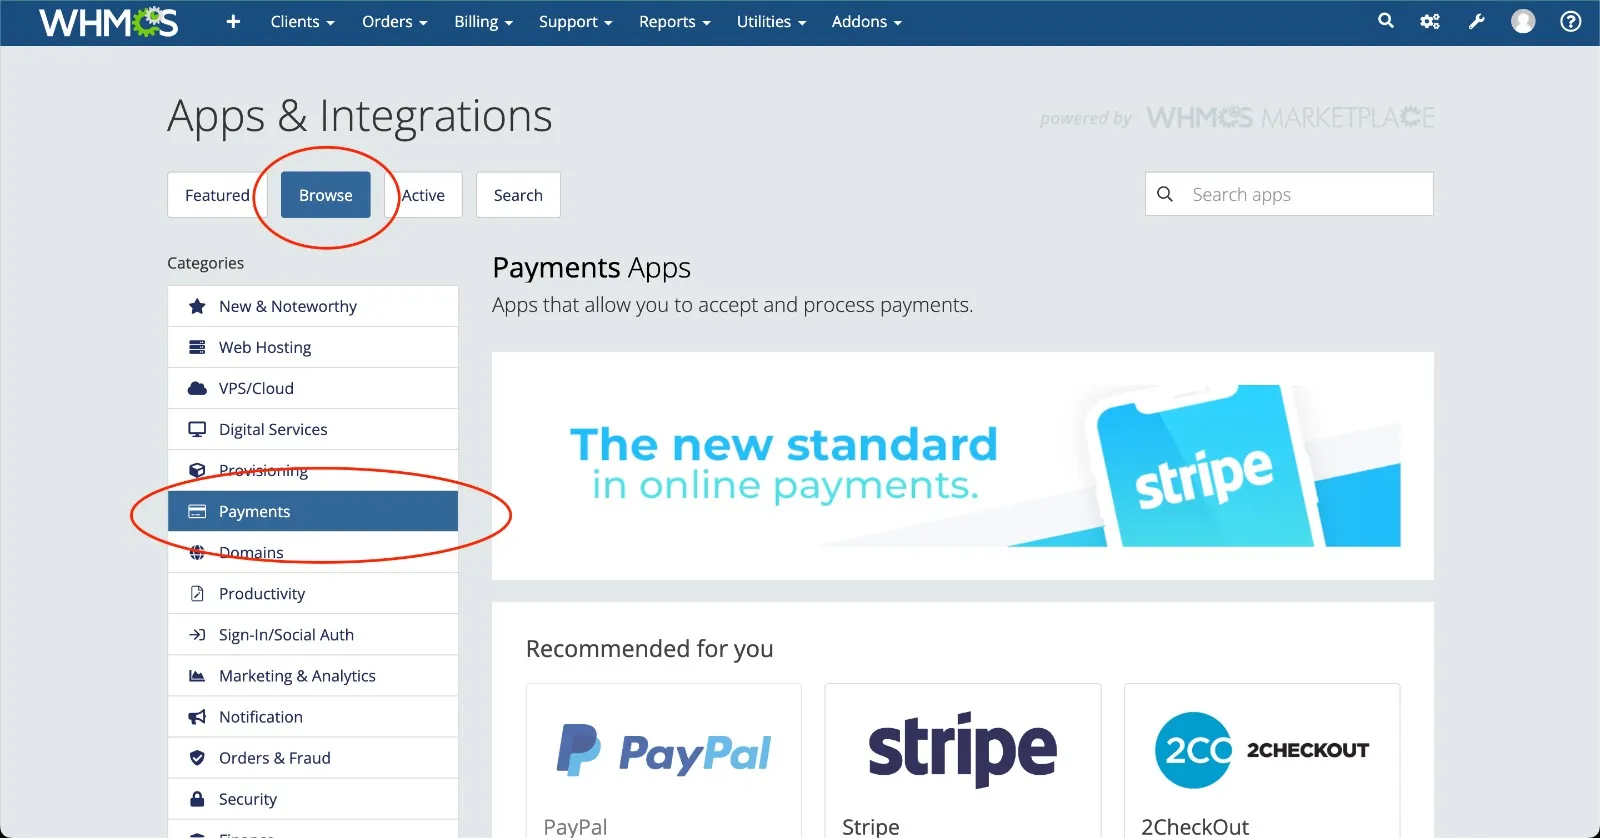
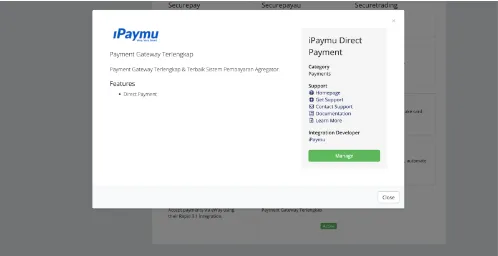
- Find iPaymu Direct Payment, click Activate. Once active, click Manage.
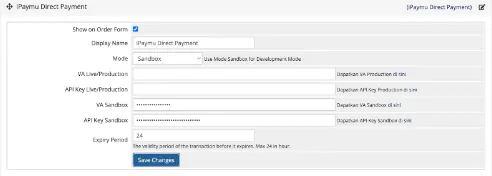
- Enter Environment (
SandboxorProduction), VA Number, and API Key. Click Save Changes.
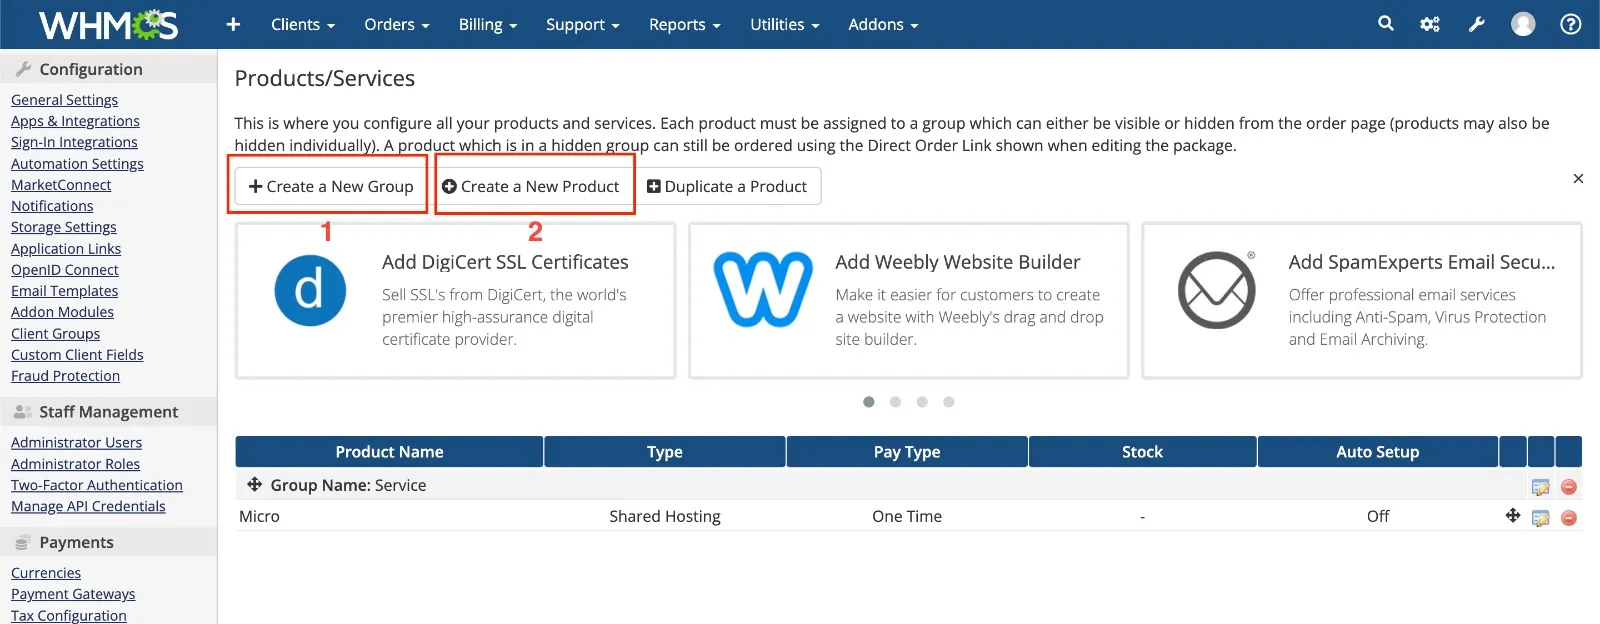
- Set up Product Group, Product, and Pricing as needed.
- Customer selects a product → Order Now → Checkout → choose iPaymu Direct Payment → Complete Order.
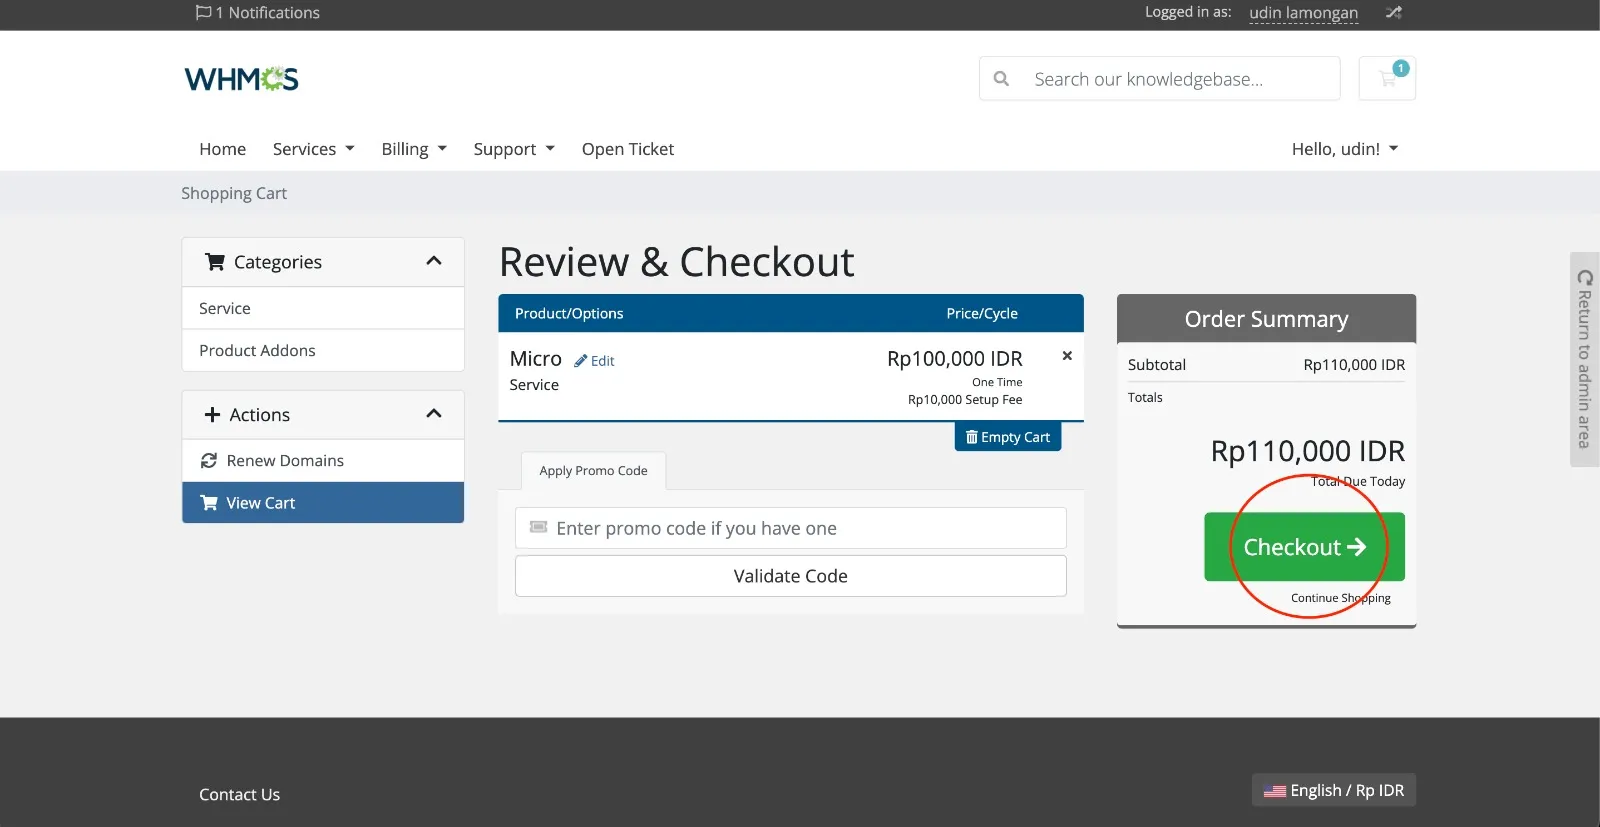
- Customer is redirected to the iPaymu payment page. After successful payment, the invoice status changes to PAID.
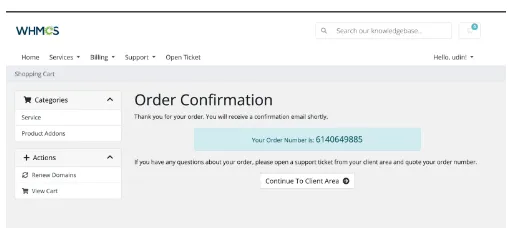
For the complete guide, visit the WHMCS Plugin page.
Moodle
The Moodle Plugin is an add-on component for the Moodle e-learning platform that enables course payment integration via iPaymu.
-
Download the Moodle plugin from the iPaymu Plugin page.
-
Log in as Admin to your Moodle site, go to Site administration → Plugins → Install plugins.
-
Upload the plugin
.zipfile, click Install plugin from the ZIP file, then click Continue. -
Click Upgrade Moodle database now. Once finished, set the Environment (
SandboxorProduction), enter your API Key and VA Number. -
Enable the iPaymu Payment Enrolment Plugin. Make sure the plugin is active with the eye icon glowing blue.
-
Create a new course via New Course, fill in the description, then click Save and display.
-
Click the Participants tab → Enrolment methods → Add method → select iPaymu Payment.
-
Fill in the description and course price, then click Add method.
-
When a user accesses the course, a payment page will appear. Click Pay via iPaymu.
-
After successful payment, the user can immediately access the course content.
For the complete guide, visit the Moodle Plugin page.