Official WooCommerce Plugin
How to install and configure iPaymu Payment Gateway for WooCommerce.
This documentation explains the steps to install and use the official iPaymu Payment Gateway for WooCommerce plugin.
Production Requirements
In Production mode, ensure your server uses a Static IP and your domain is registered. See IP & Domain Validation.
Step 1: Set Callback Type to JSON
The first step is to ensure that iPaymu sends Webhook Callbacks to your WooCommerce store in JSON format.
- Open the iPaymu dashboard and click the Settings (Gear) icon.
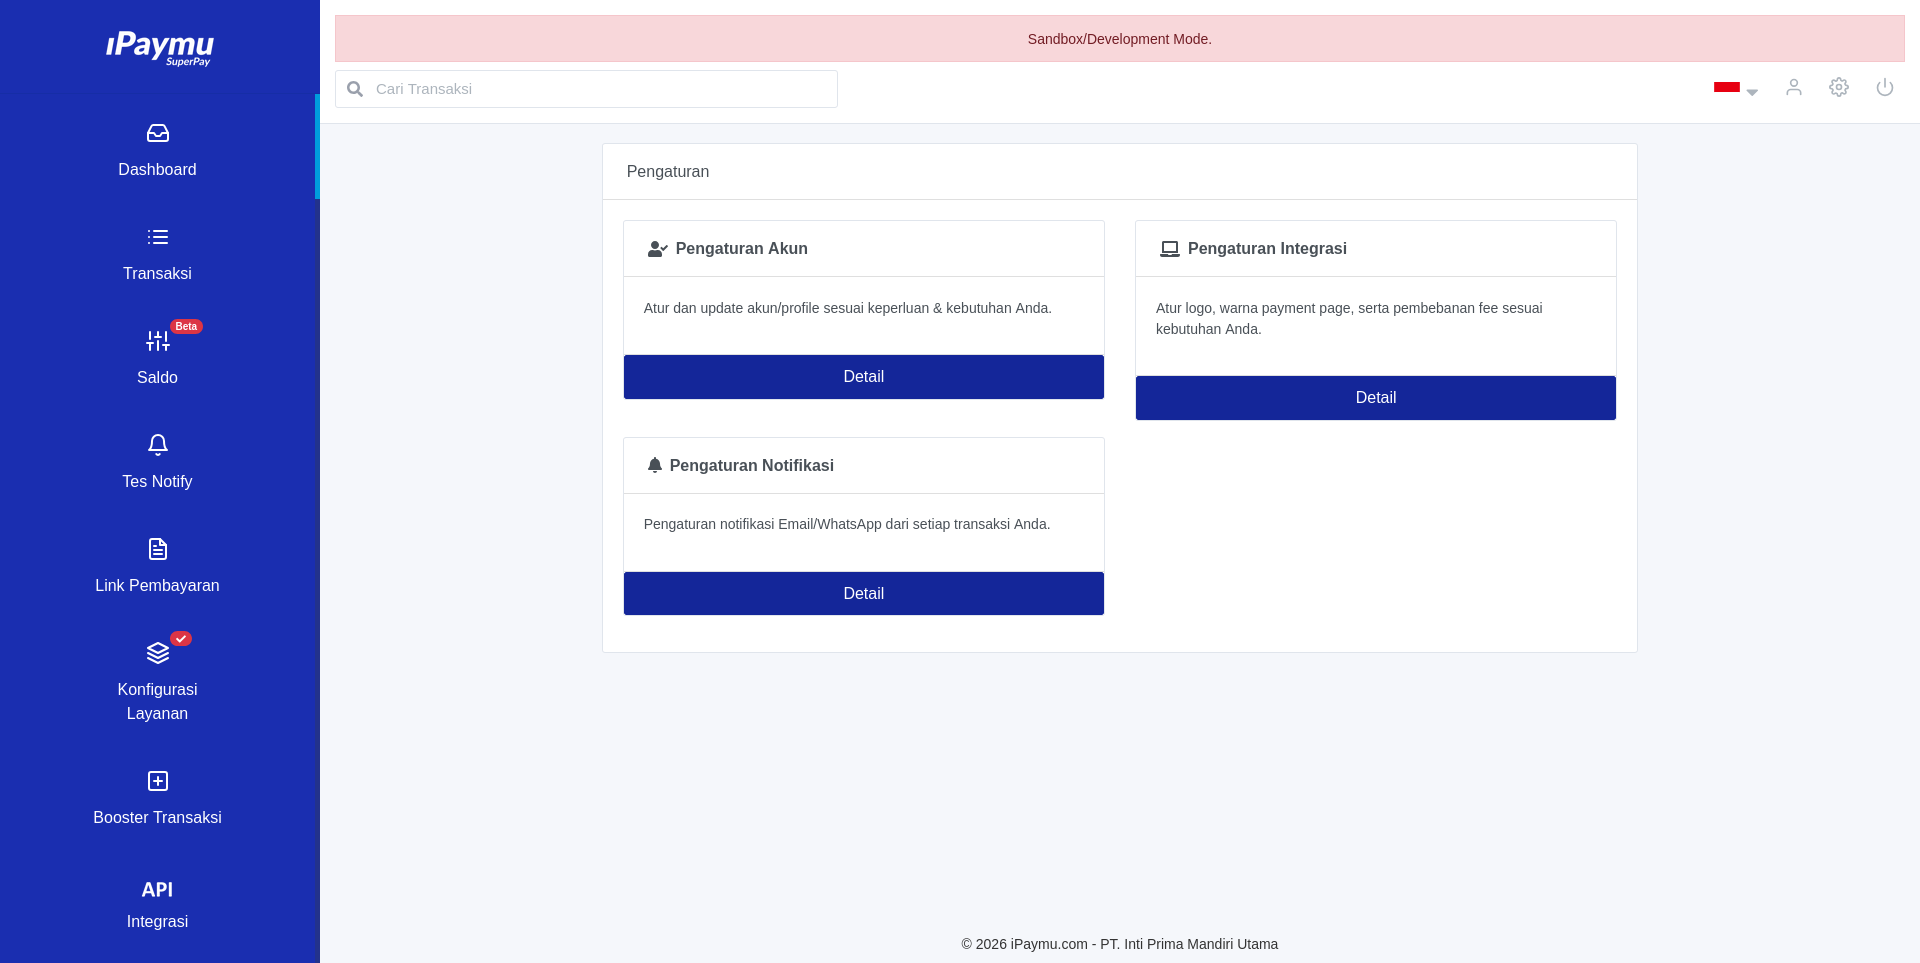
- On the settings page, navigate to the Integration tab (or open https://sandbox.ipaymu.com/integration/setting for Sandbox).
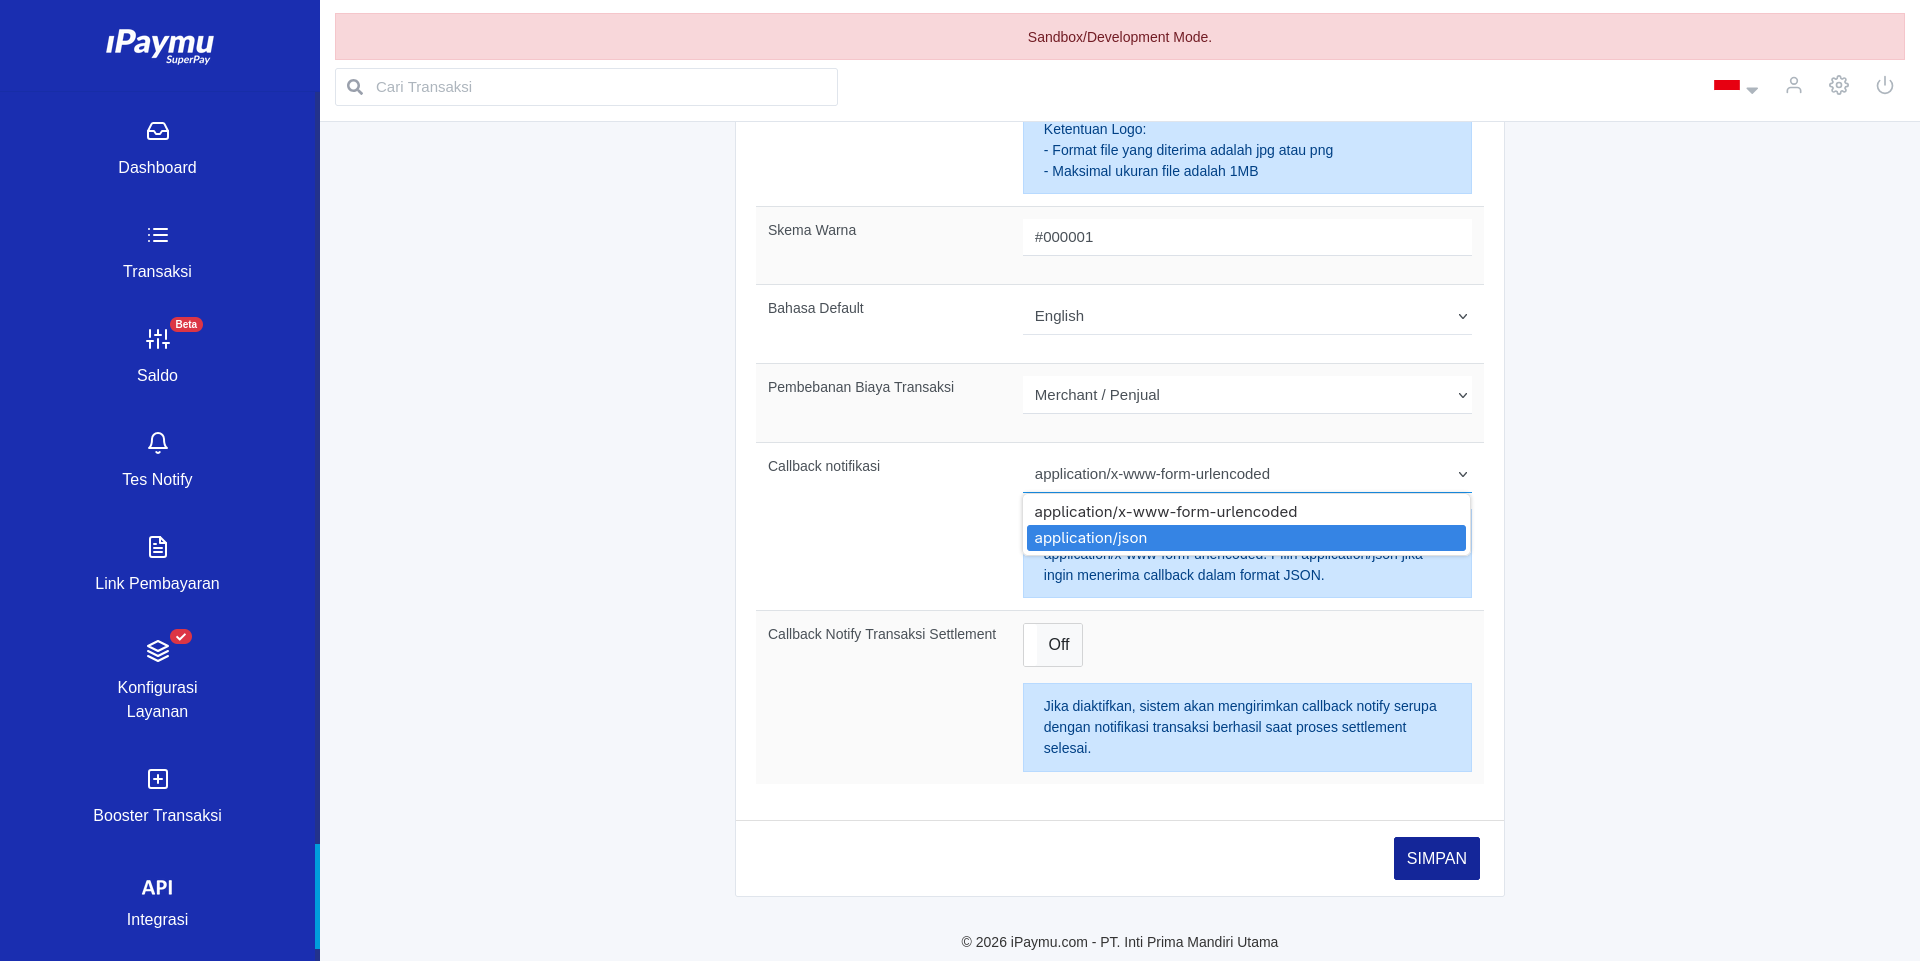
- Under the Integration Settings section, locate the Callback Notification input.
- Change the type from
application/x-www-form-urlencoded (legacy)toapplication/json. - Save the settings.
Step 2: Install the WooCommerce Plugin
- Log into your WP Admin dashboard (ensure you have the latest version of WooCommerce installed and set up).
- Go to the menu Plugins -> Add New.
- Search using the keyword
iPaymu Payment Gateway for WooCommerce by iPaymu.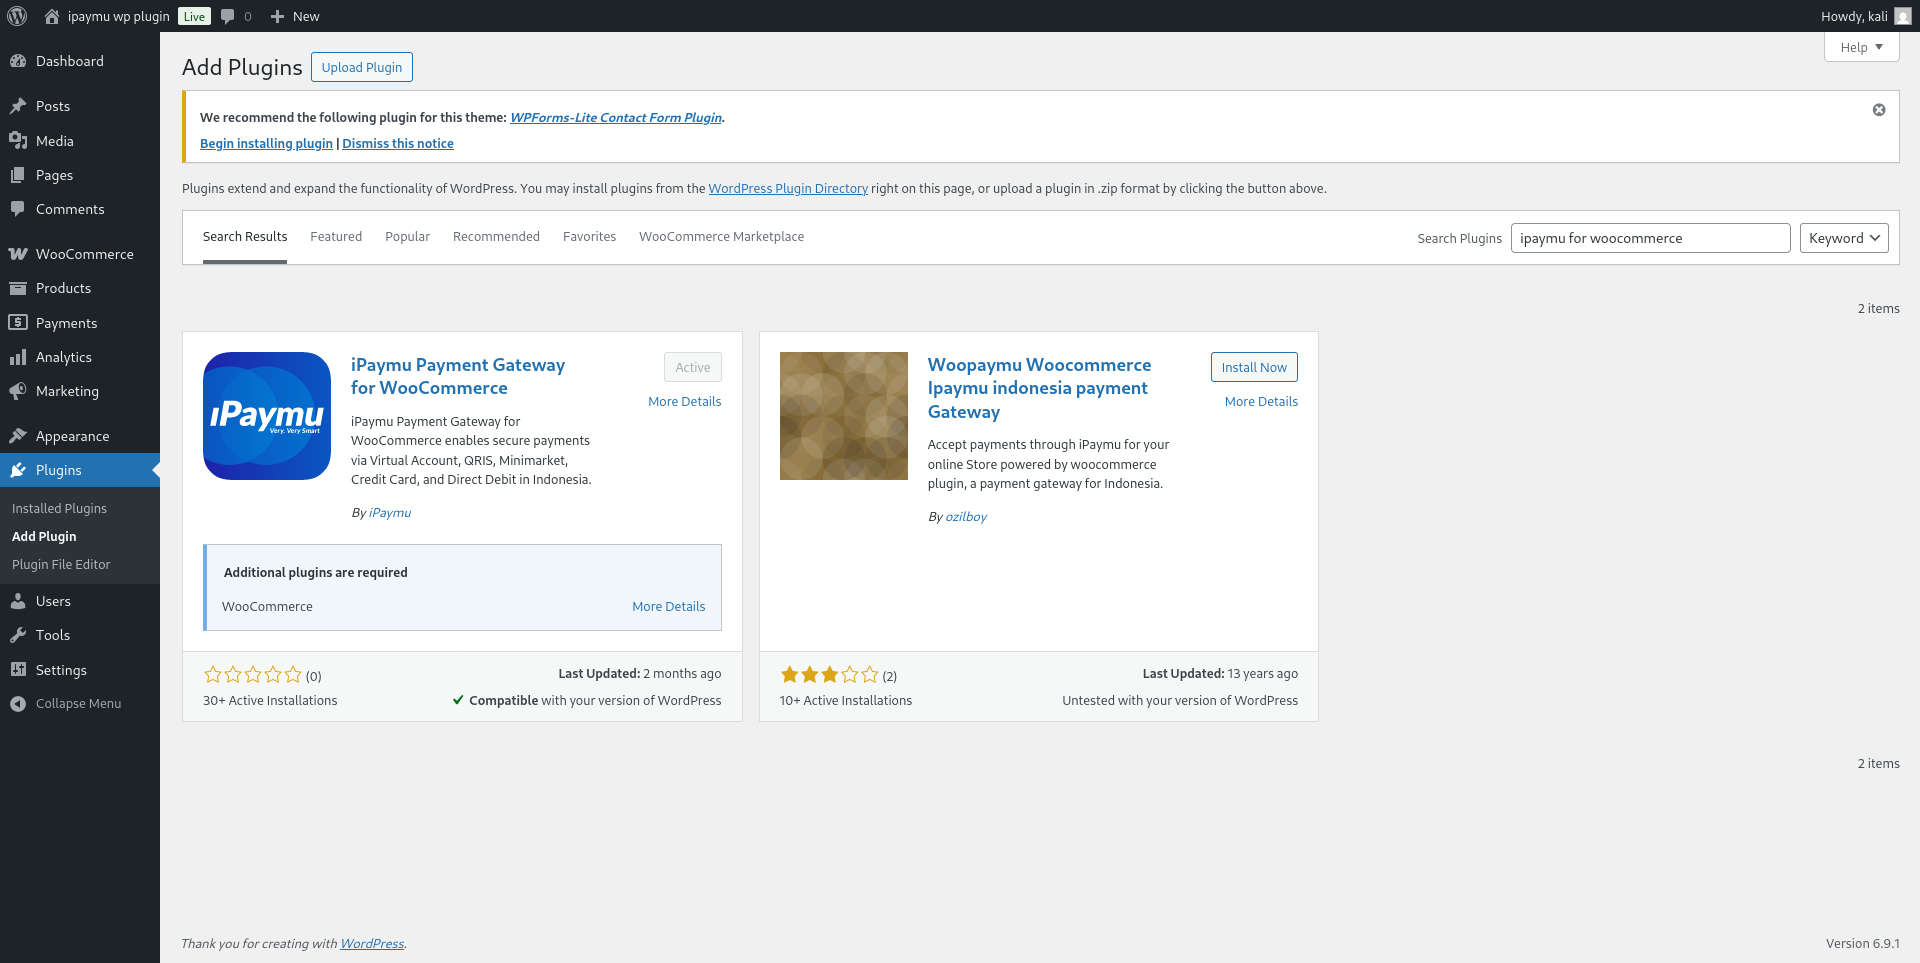
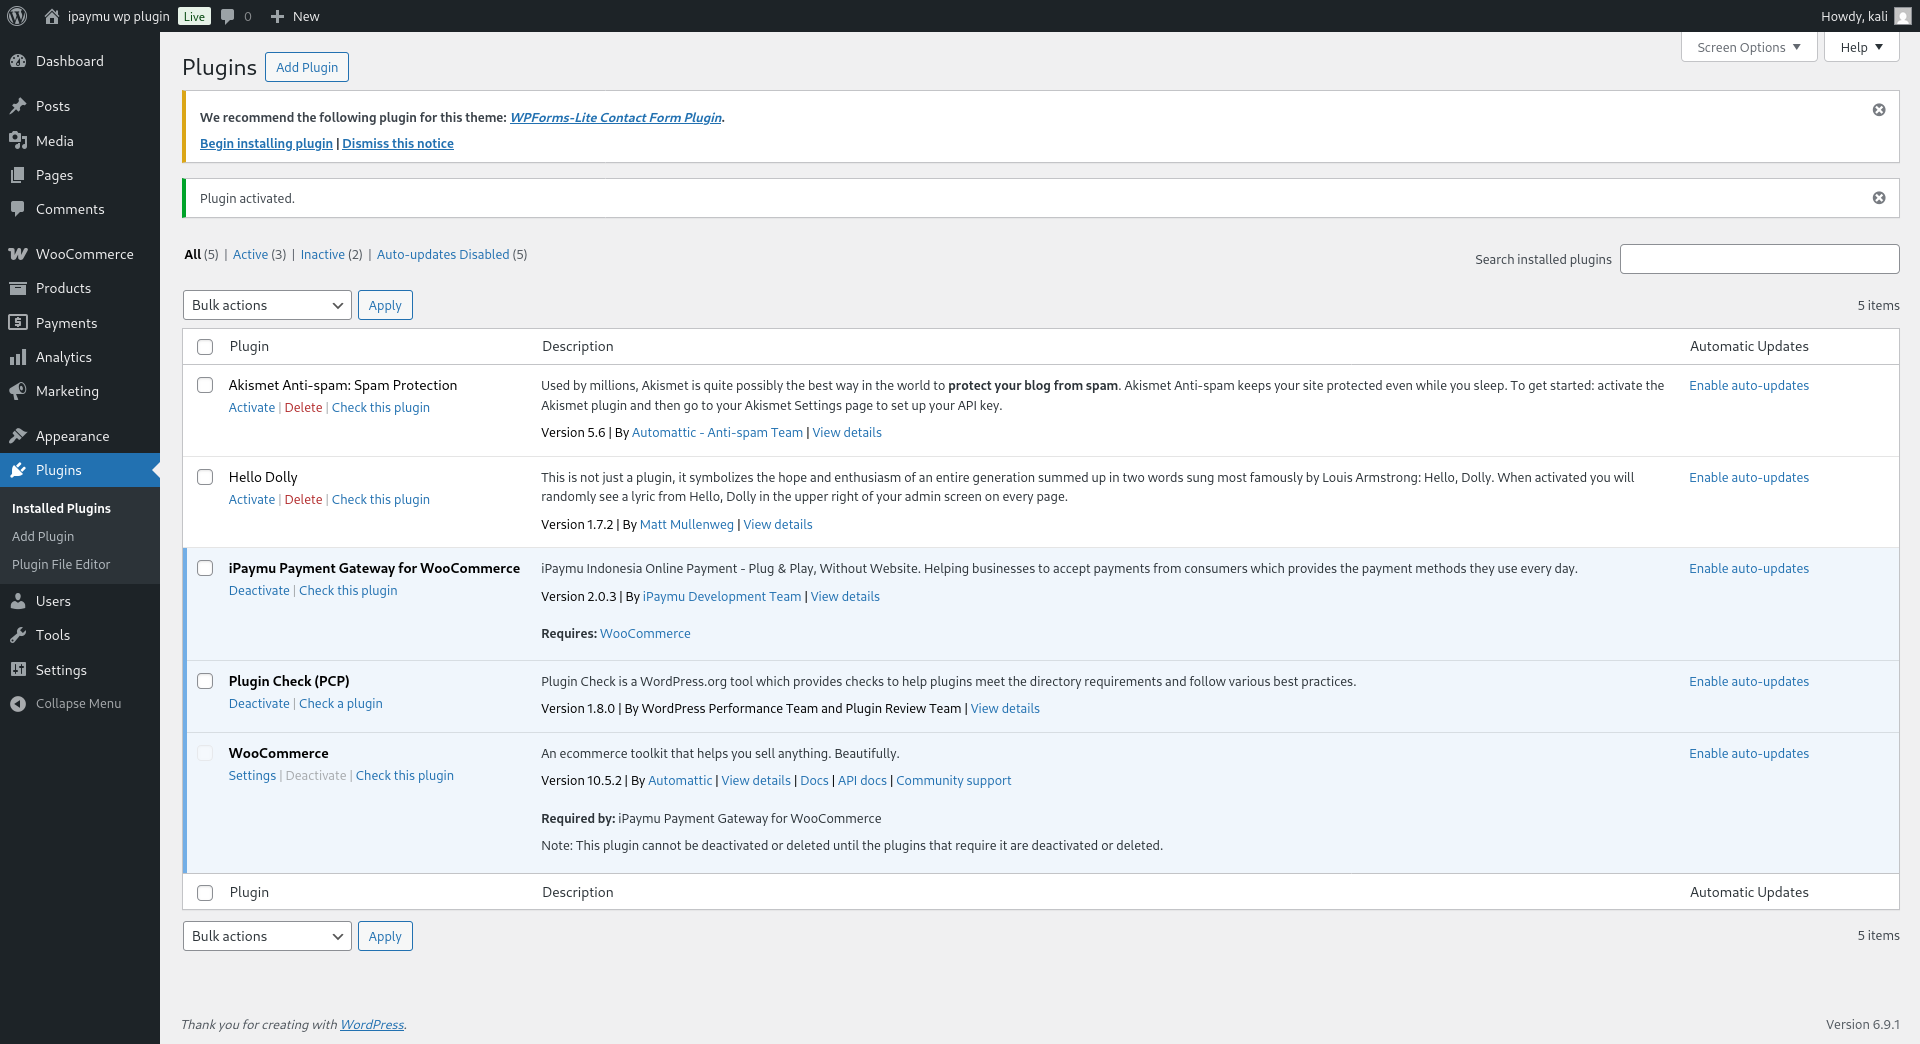
- Click Install, then click Activate to enable the plugin.
Step 3: Configure Credentials
-
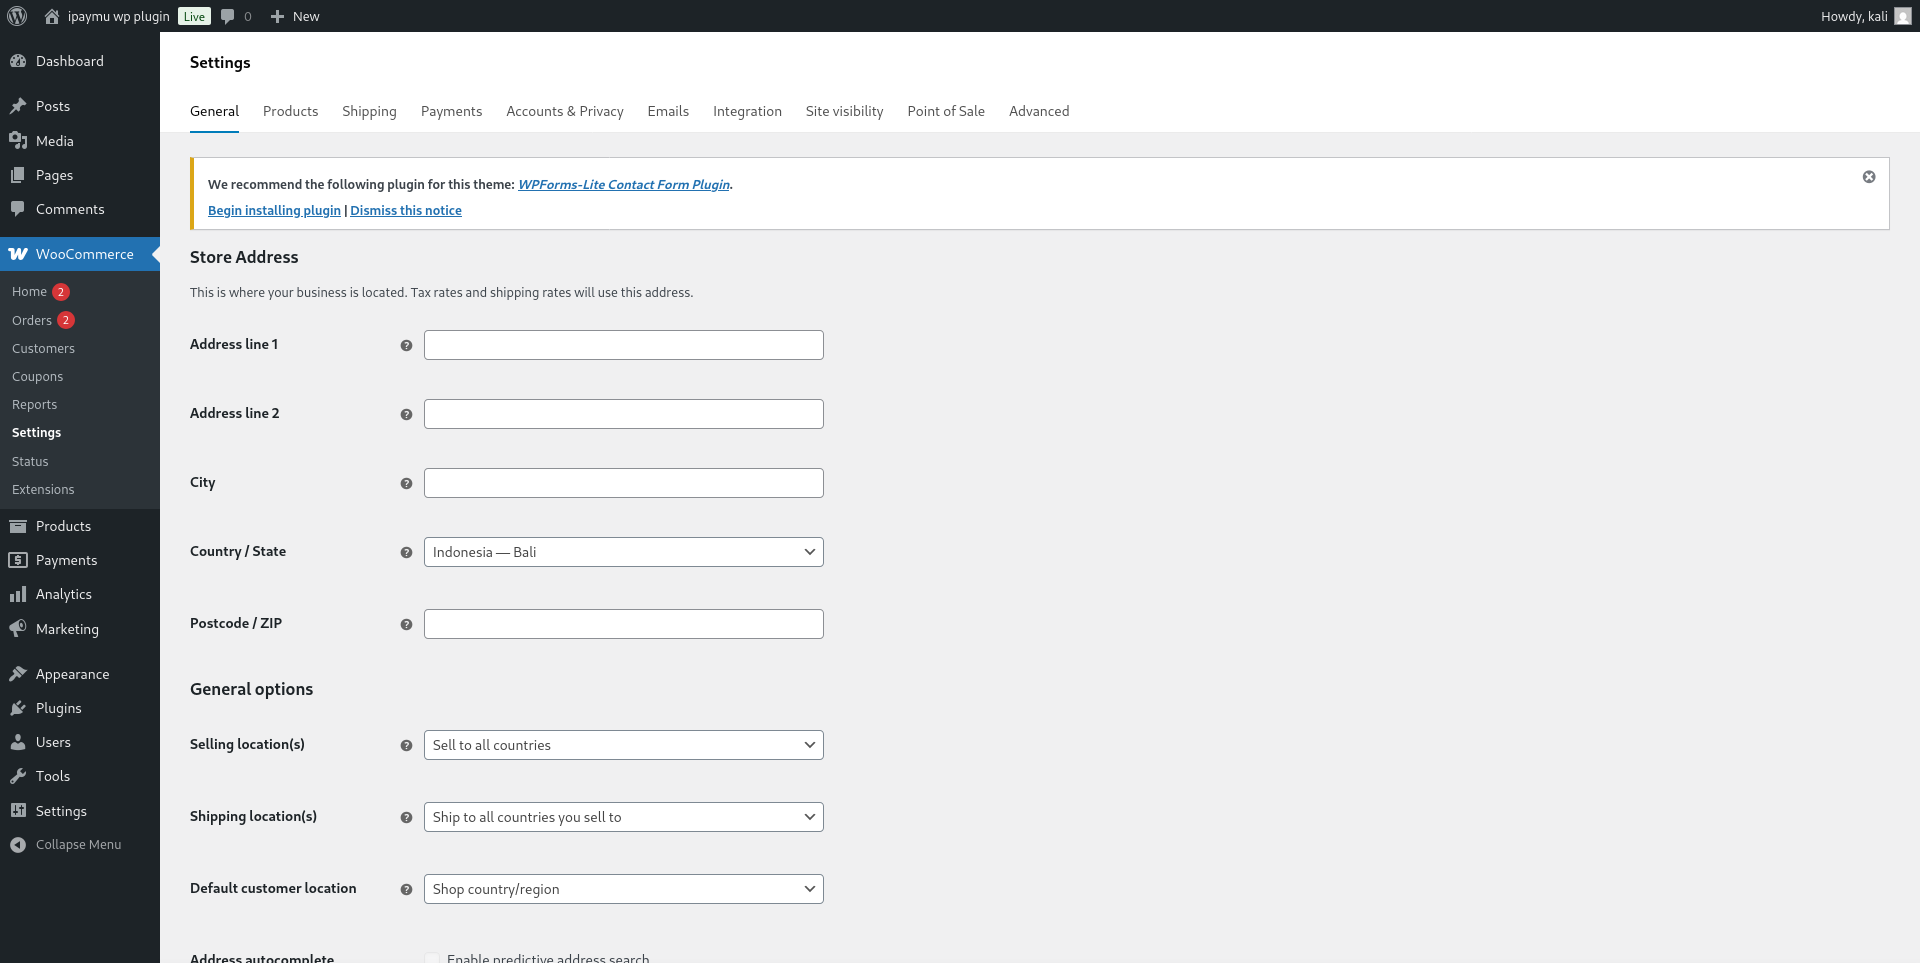
Navigate to the WooCommerce -> Settings menu.
-
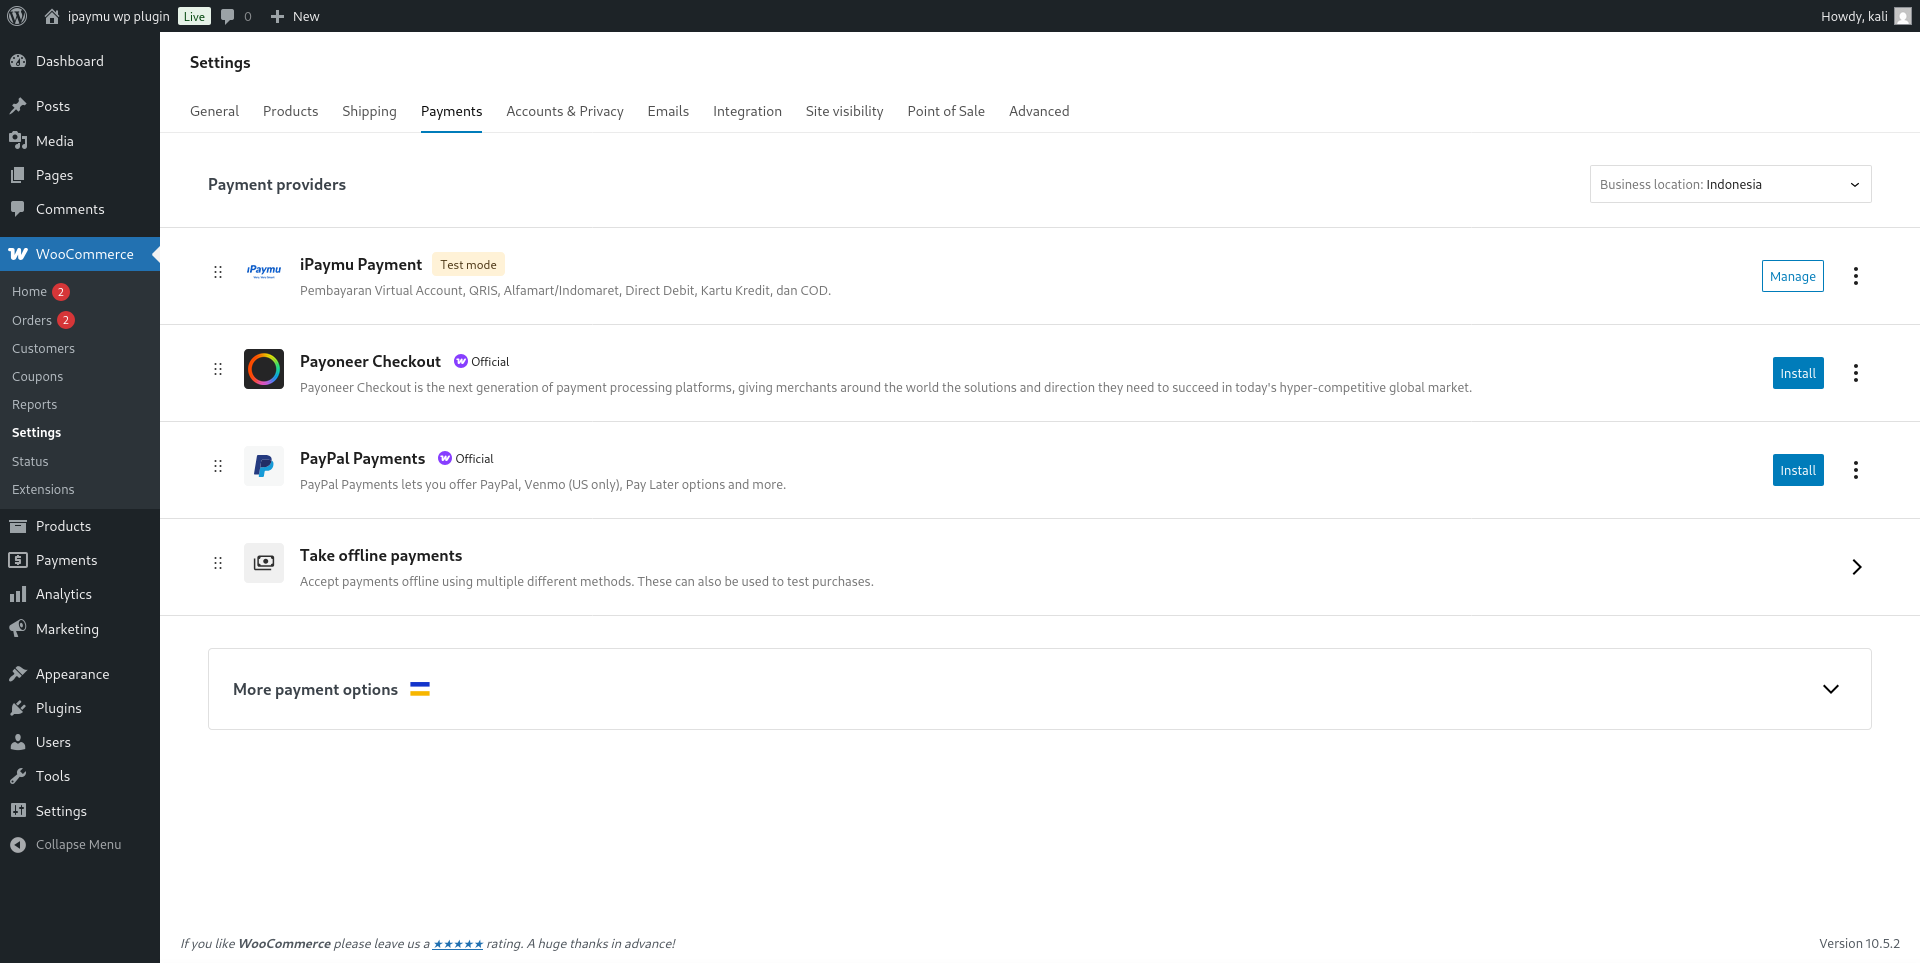
Select the Payments tab.
-
Look for iPaymu Payment Gateway, enable its toggle, then click Manage.
-
On this settings page, you can enter the VA and API Key of your iPaymu account. There are 4 fields: 2 for Production and 2 for Sandbox.
-
If you want to test payments first, check the Test mode / Sandbox option.
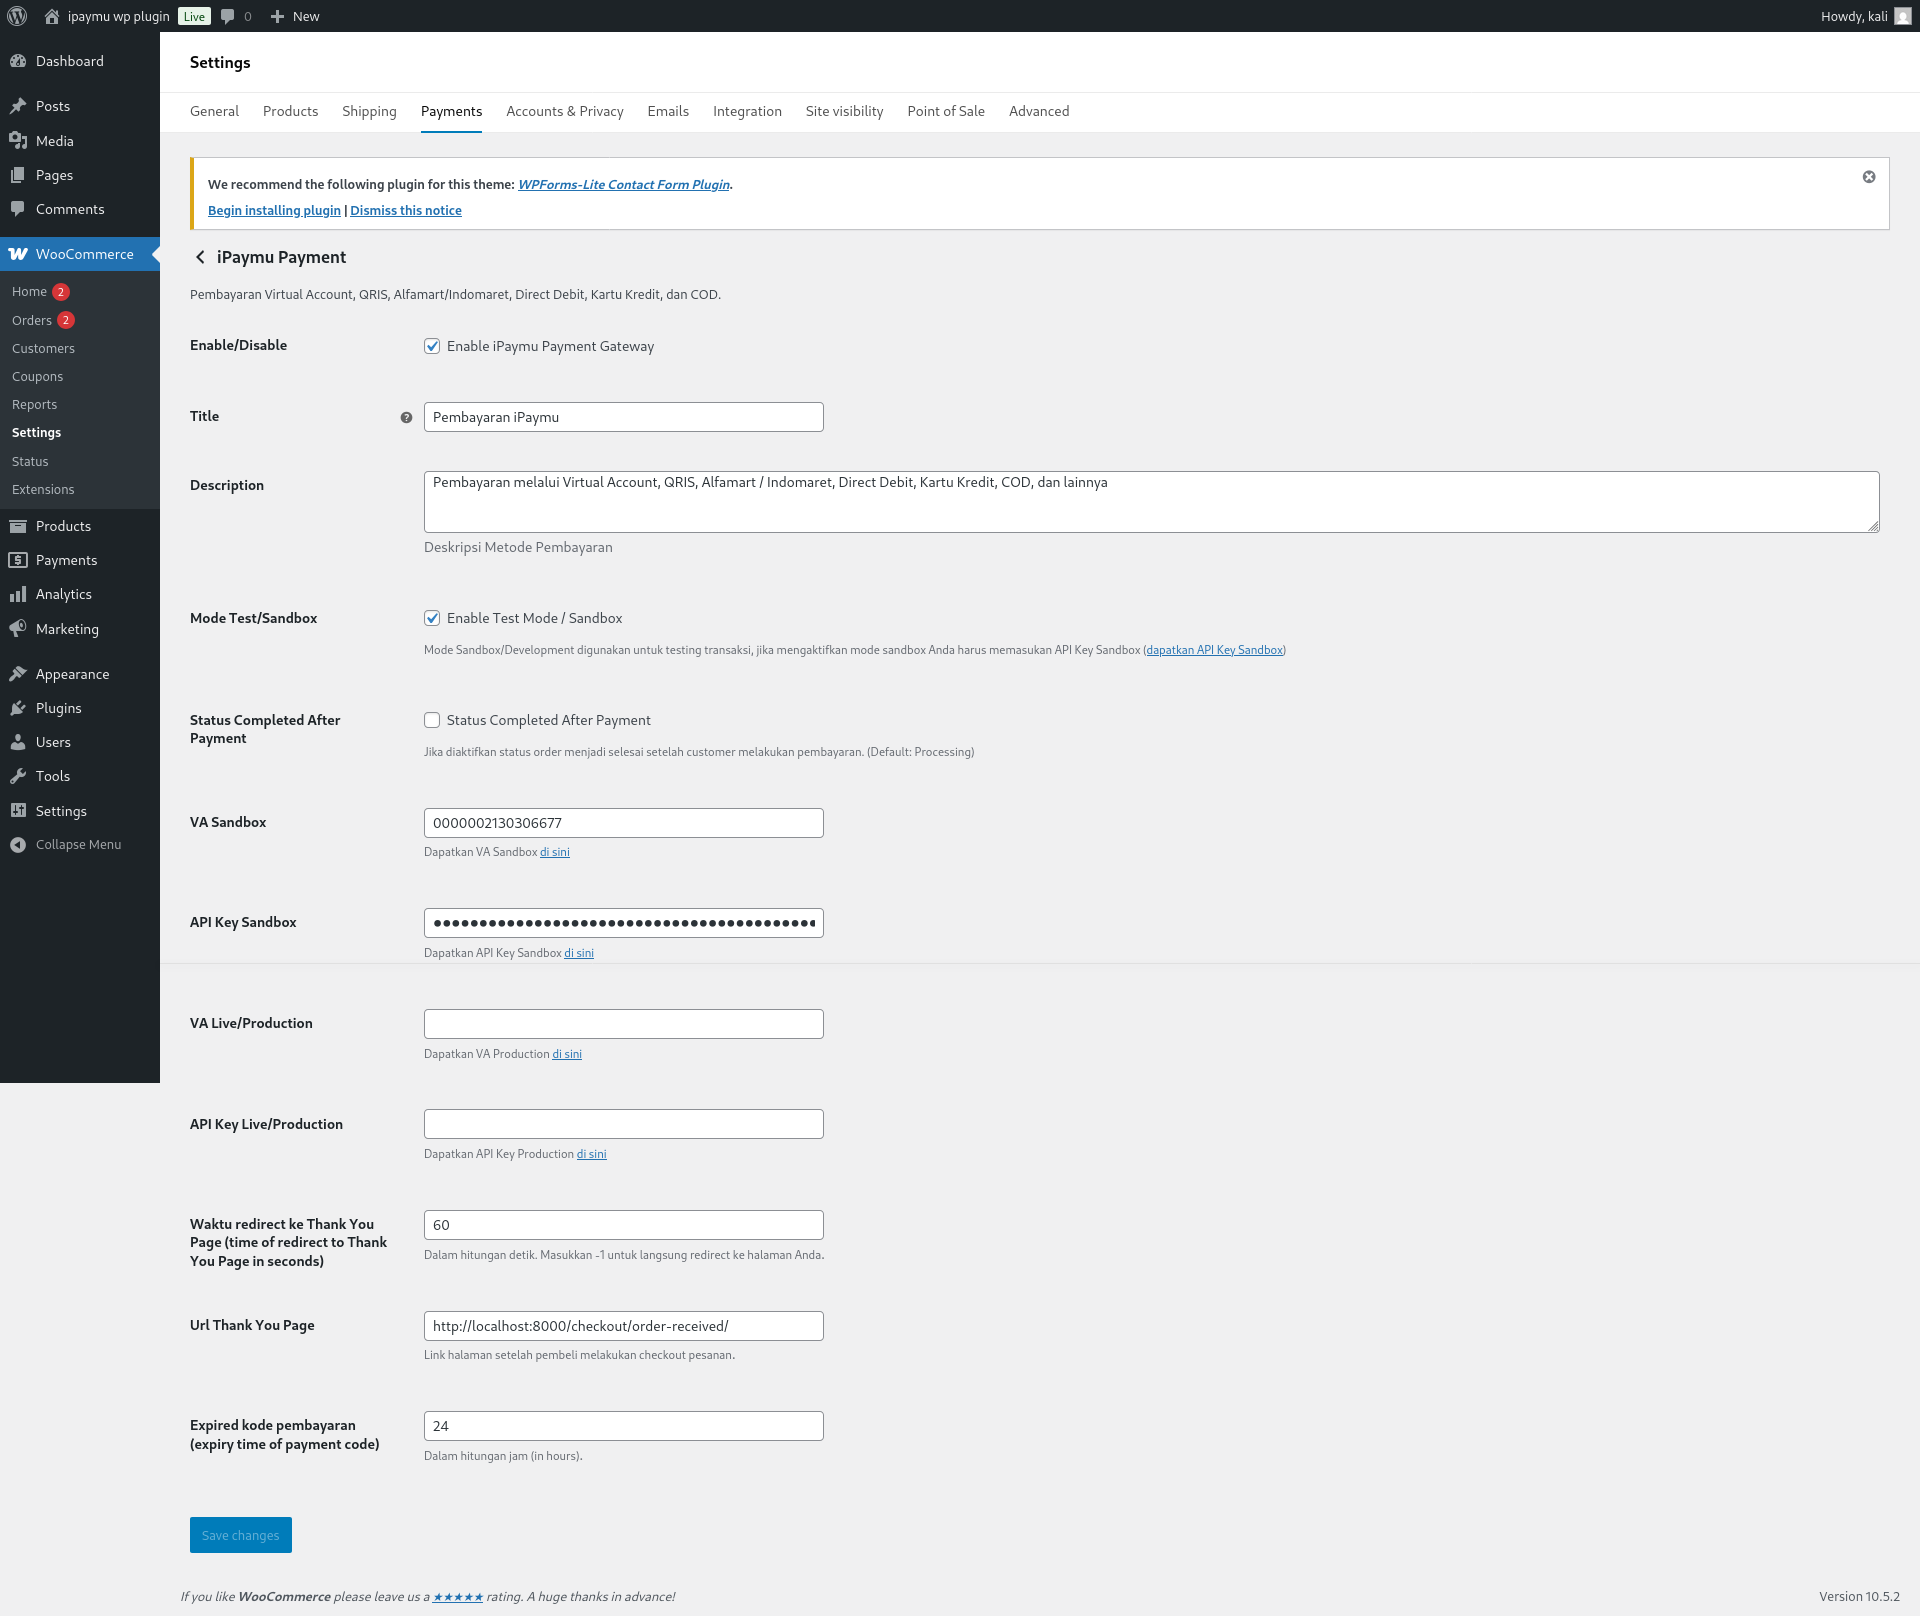
Status Completed After Payment
If this option is checked, the order status in WooCommerce will automatically change to Completed after the customer successfully makes a payment. (By default, the order status is Processing)
- Click Save changes at the bottom.
Step 4: Test Payment (Checkout)
If you have configured the sandbox credentials and enabled Test mode, you can try creating a payment.
-
Make a purchase in the store like a regular customer.
-
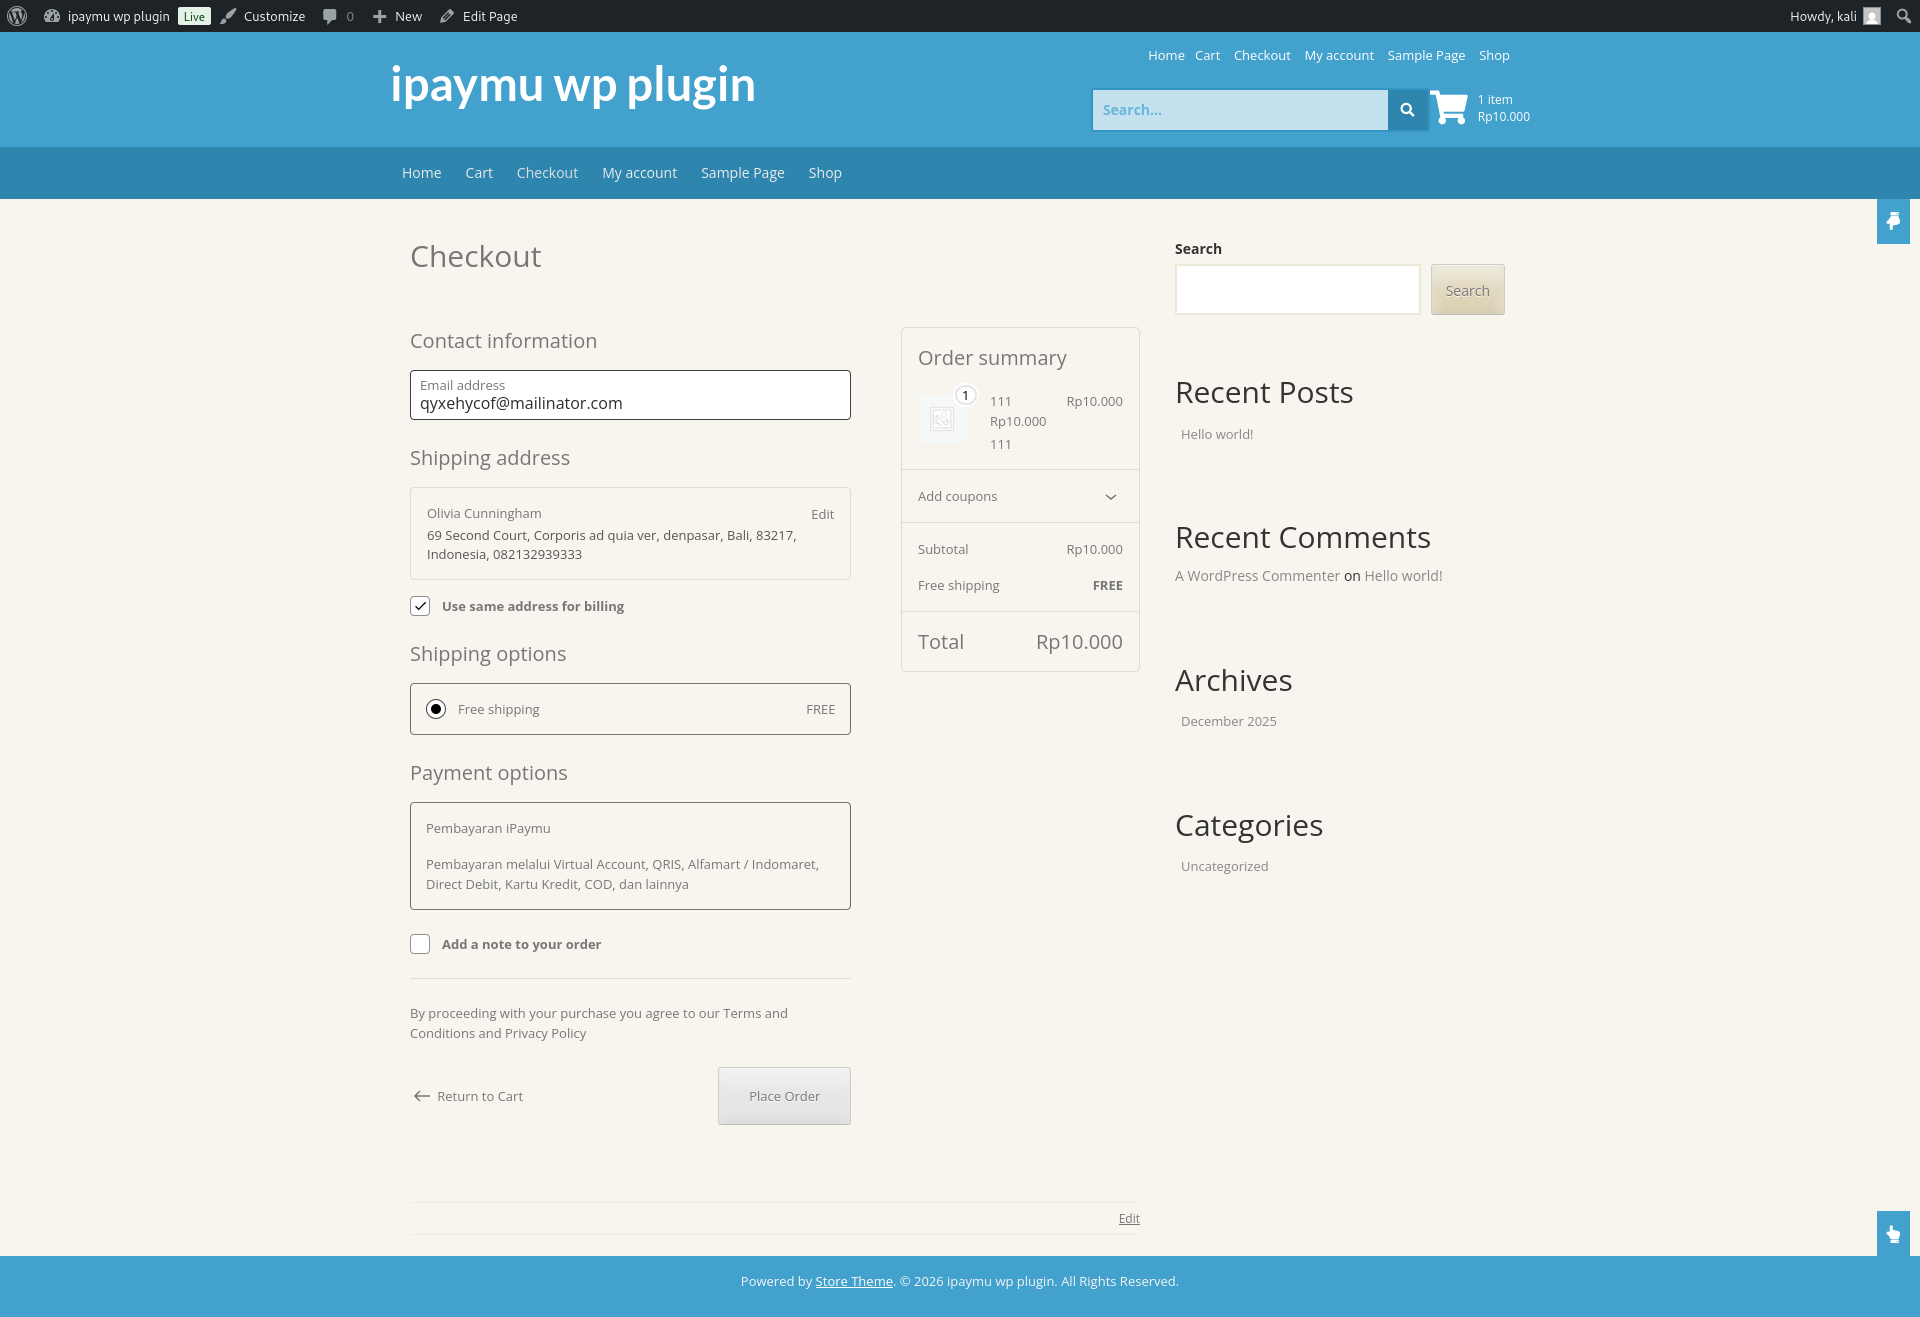
On the Checkout page, select the iPaymu Payment method.
-
Click Place Order / Checkout, and you will be redirected to the iPaymu payment page.
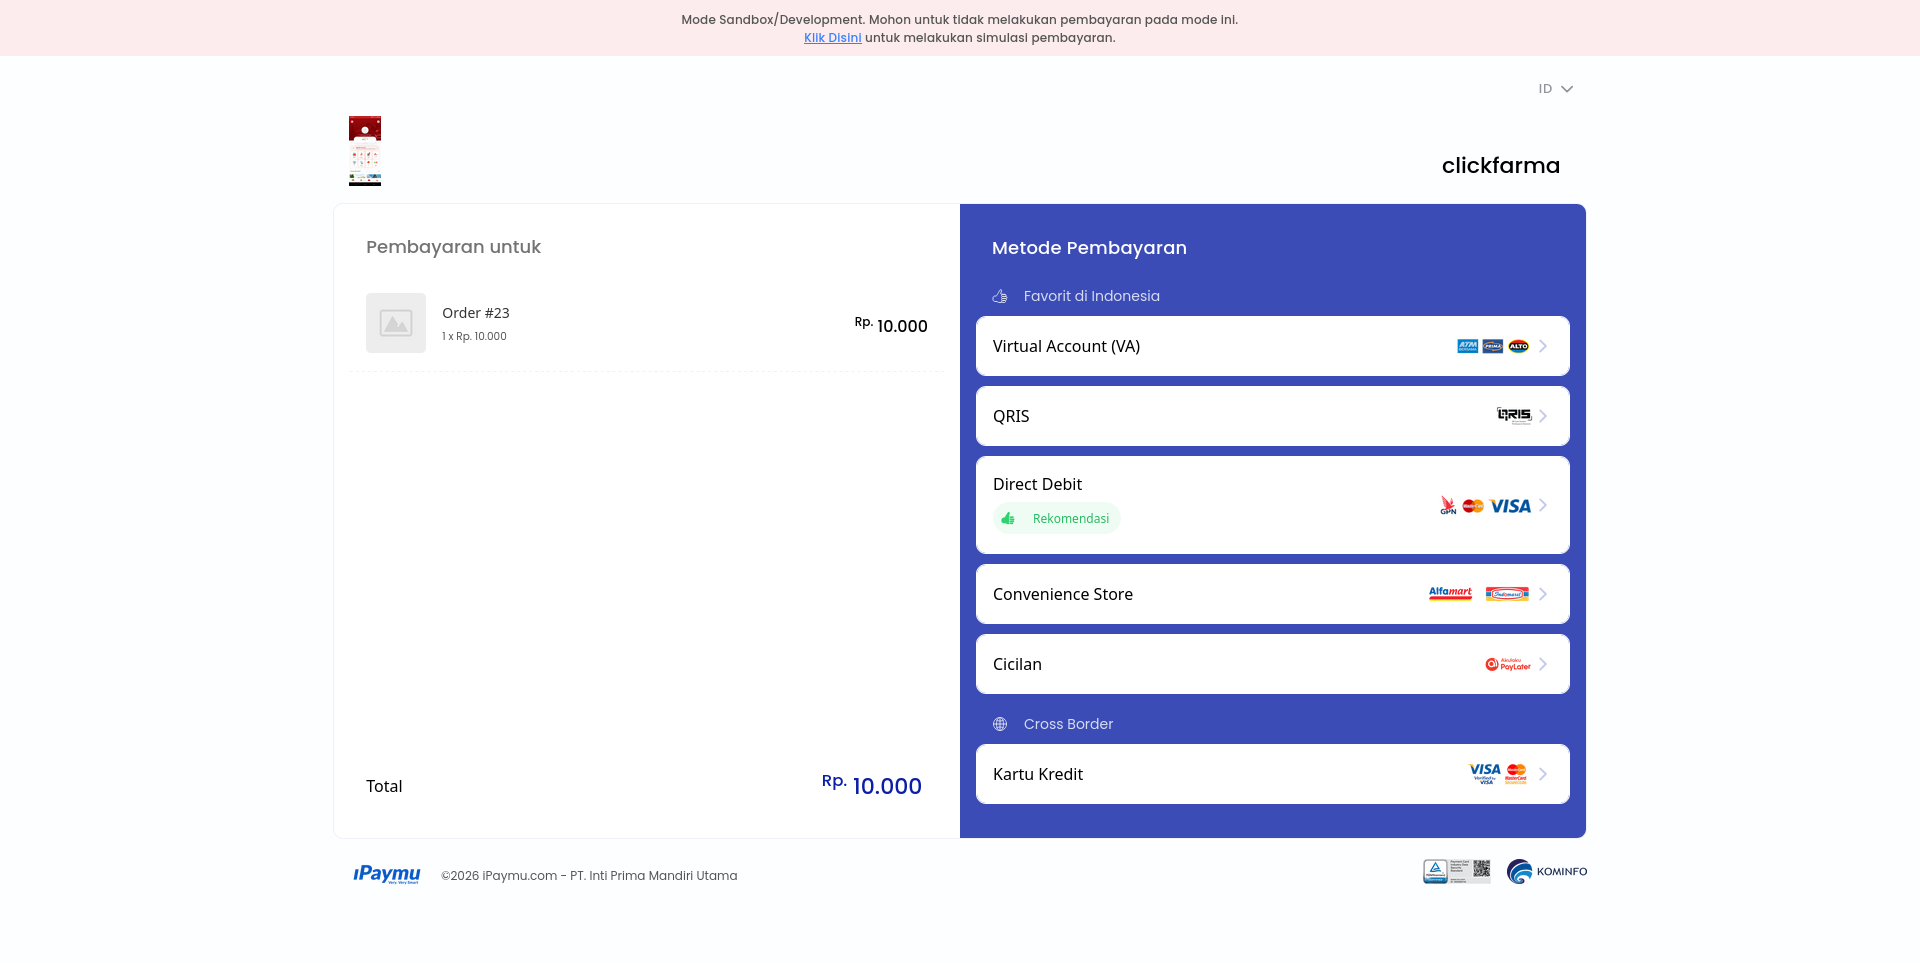
Step 5: Test Webhooks in Sandbox
To try testing a successful payment Callback in Sandbox mode:
-
Copy the Transaction ID or Ref ID (the example in the image is
196984).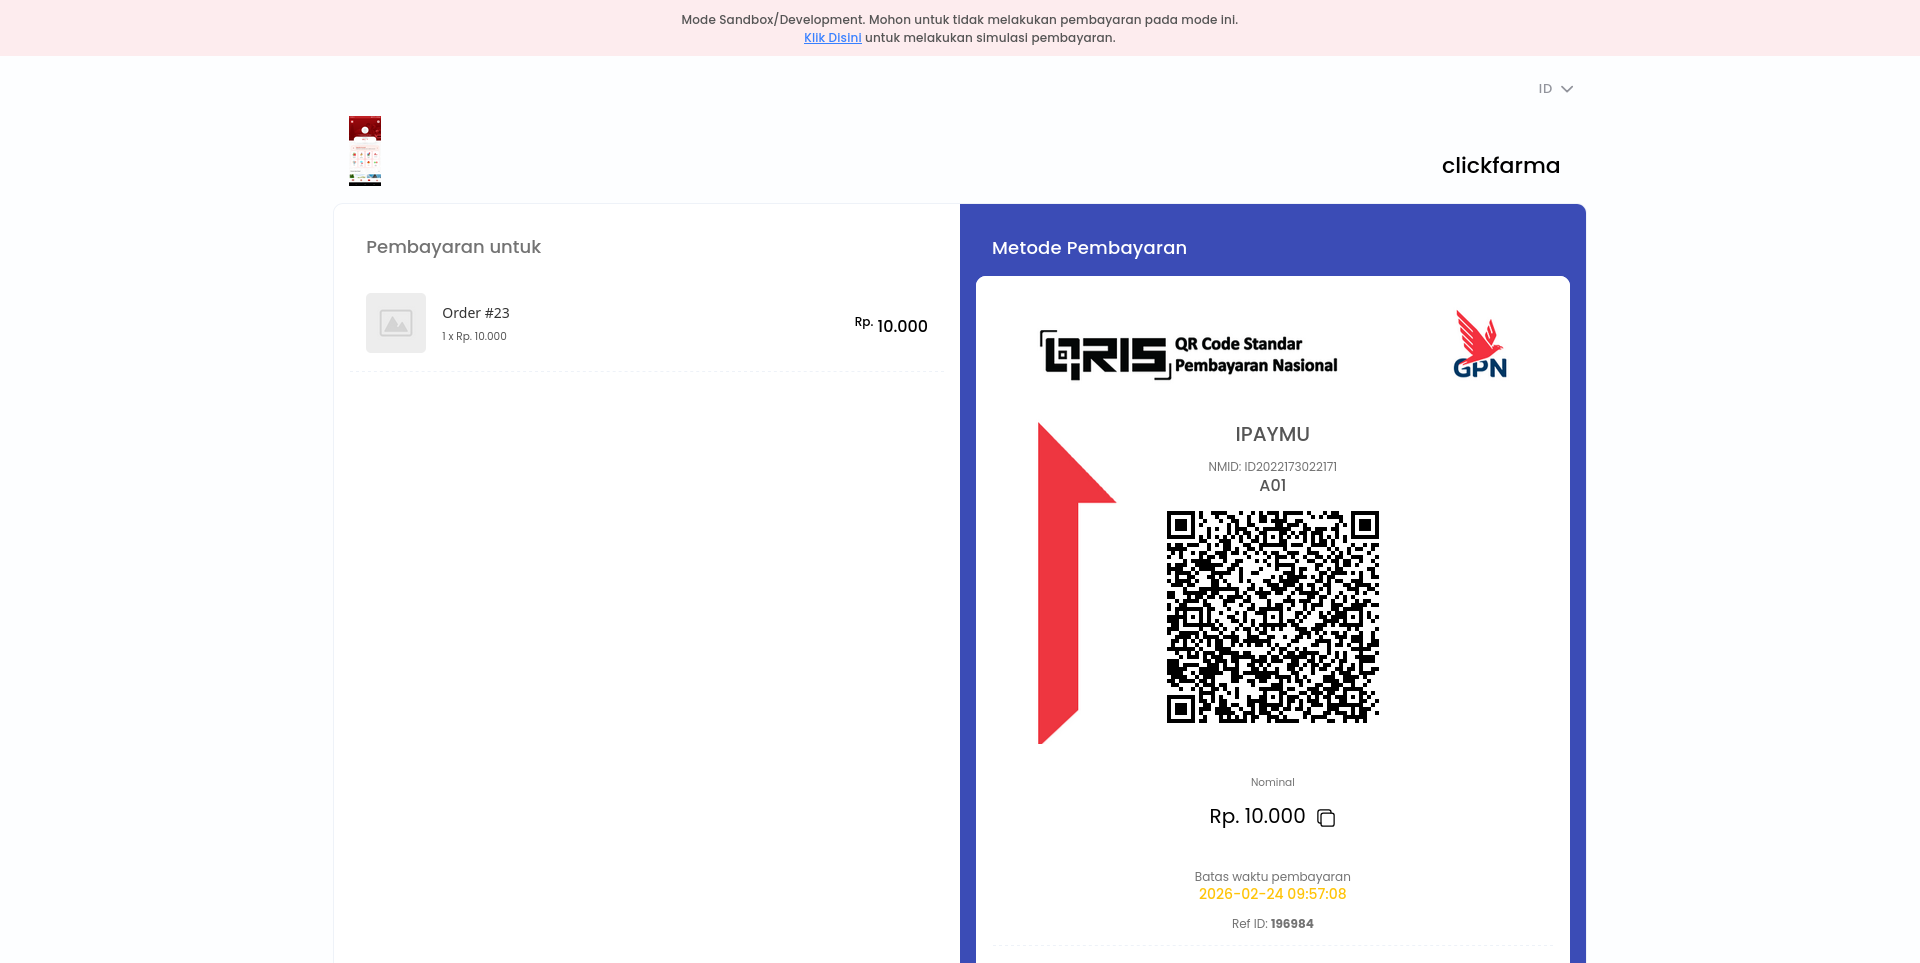
-
Visit the page https://sandbox.ipaymu.com/notify.
-
Paste the Ref ID into the column labeled iPaymu Transaction ID / Merchant Ref ID / Session ID.
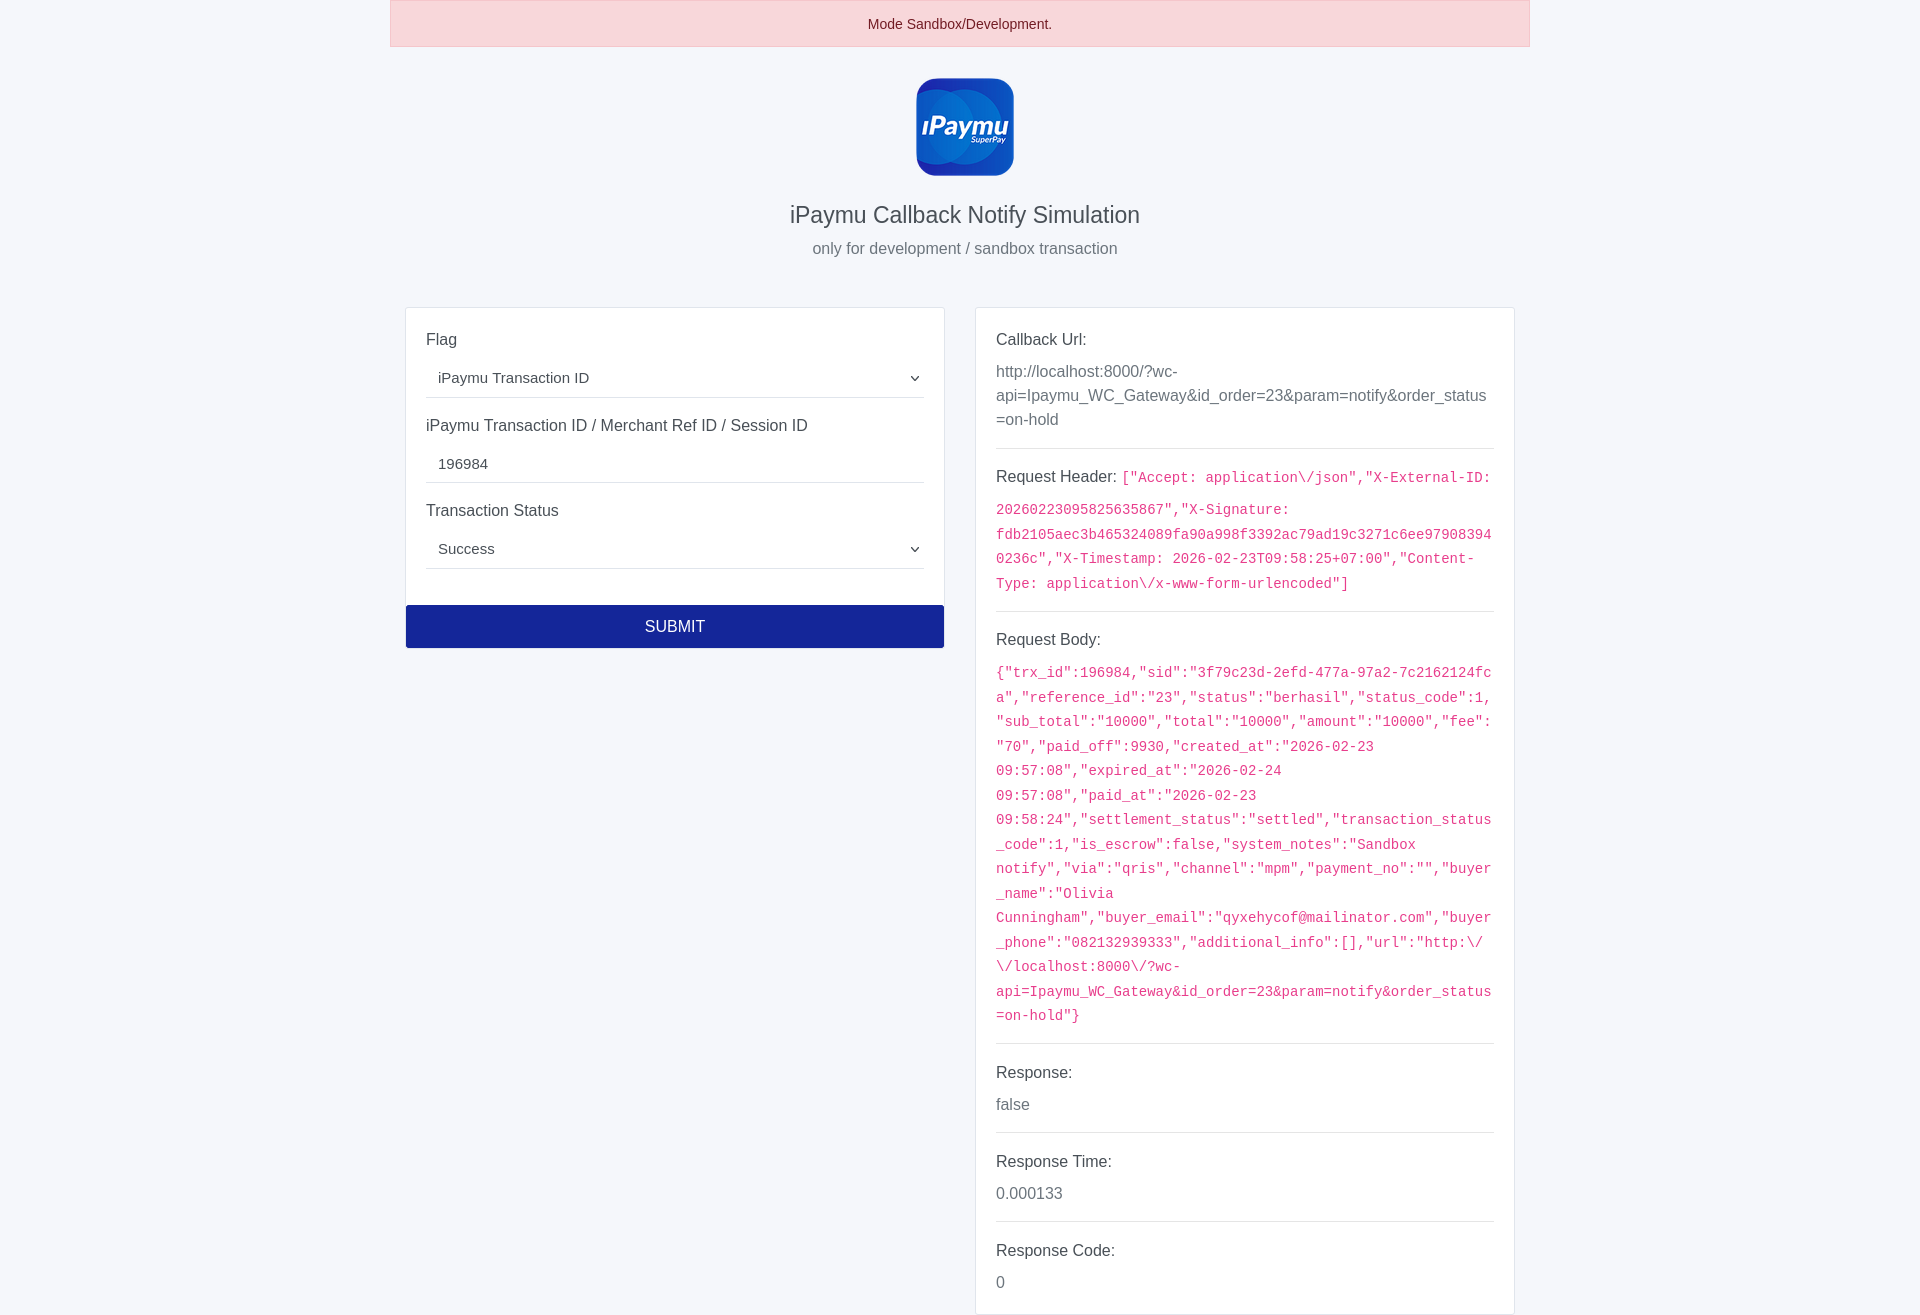
-
Click Submit.
You will then see the Request Header and Request Body that the iPaymu server attempted to send to your WooCommerce site. You can inspect this JSON Response and Body if there are communication errors. You can also use this mock payload to manually hit your localhost server via Postman.